This article contains affiliate links. We may earn a commission from qualifying purchases.
Some content on this site is AI-assisted and reviewed by our editorial team.
Why I Built a Smart Home Theater (and How It Cost Less Than You Think)
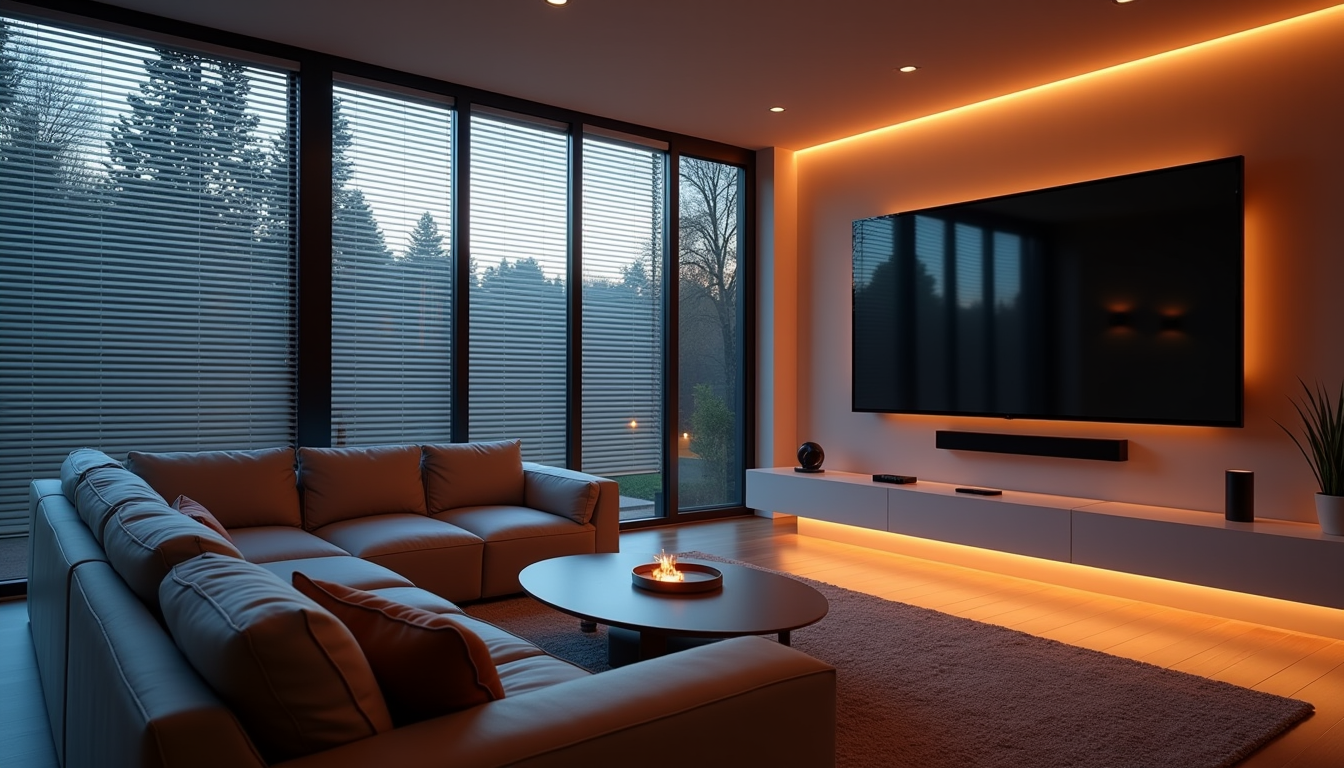
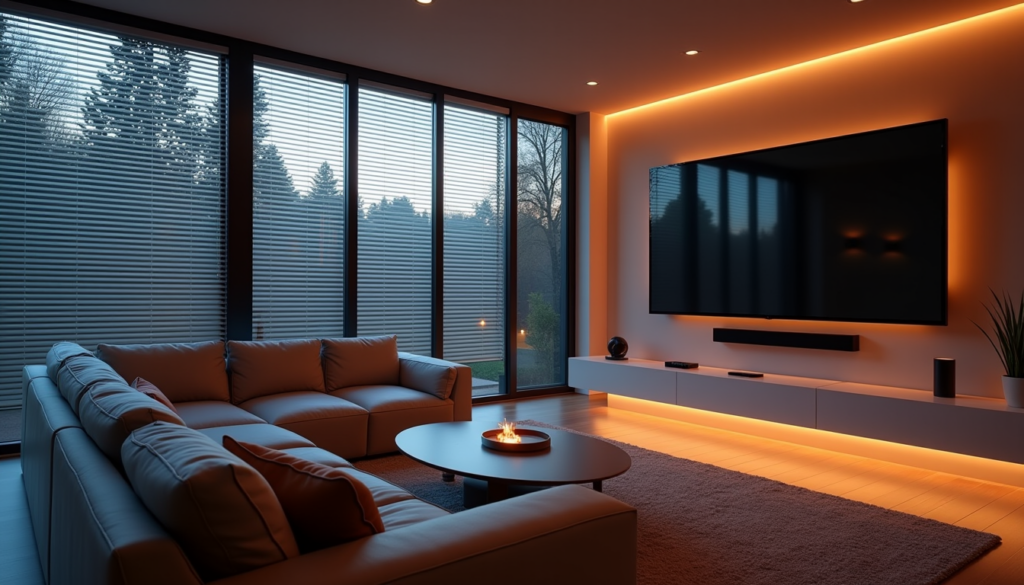
When I first imagined a home theater, I pictured a dedicated room with a 5,000 dollar projector, stadium seating, and acoustic panels on every wall. That is what the internet shows you. But after spending six months turning my spare bedroom into a genuinely great movie-watching space, I can tell you the secret: the equipment matters far less than the automation. A decent TV, a good soundbar, and the right smart home setup will give you a better experience than a premium projector in a room where the lights do not dim and the blinds let in a glare at 7 PM.
The real magic of a smart home theater is not any single device. It is the routine. When I say “movie time,” my lights dim to 5%, my blinds close, my receiver powers on, and the thermostat drops two degrees so the room stays comfortable with five people in it. That sequence — which took me about two hours to set up and cost less than a single movie ticket per component — is what makes the room feel like a cinema instead of a bedroom with a big TV.
Here is exactly what I installed, what each piece does, and where you can save money without ruining the experience.
Smart Lighting: The Single Biggest Theater Upgrade
If you do one thing on this list, make it smart lighting. The difference between watching a movie in a fully lit room and watching one with properly dimmed lighting is enormous. It is not just about reducing glare on the screen — though that matters — it is about creating an environment where your eyes can focus on the display without straining against ambient light.
I use Philips Hue smart bulbs in my theater room ceiling fixtures. They are not the cheapest smart bulbs on the market, but they dim smoothly without flickering, and the color control is excellent if you want to add subtle bias lighting behind your screen. For a cheaper alternative, Philips Hue White bulbs give you dimming without the color features at roughly half the price. If you are deciding between platforms, our smart home lighting comparison guide breaks down Hue versus Lutron versus budget options in detail.
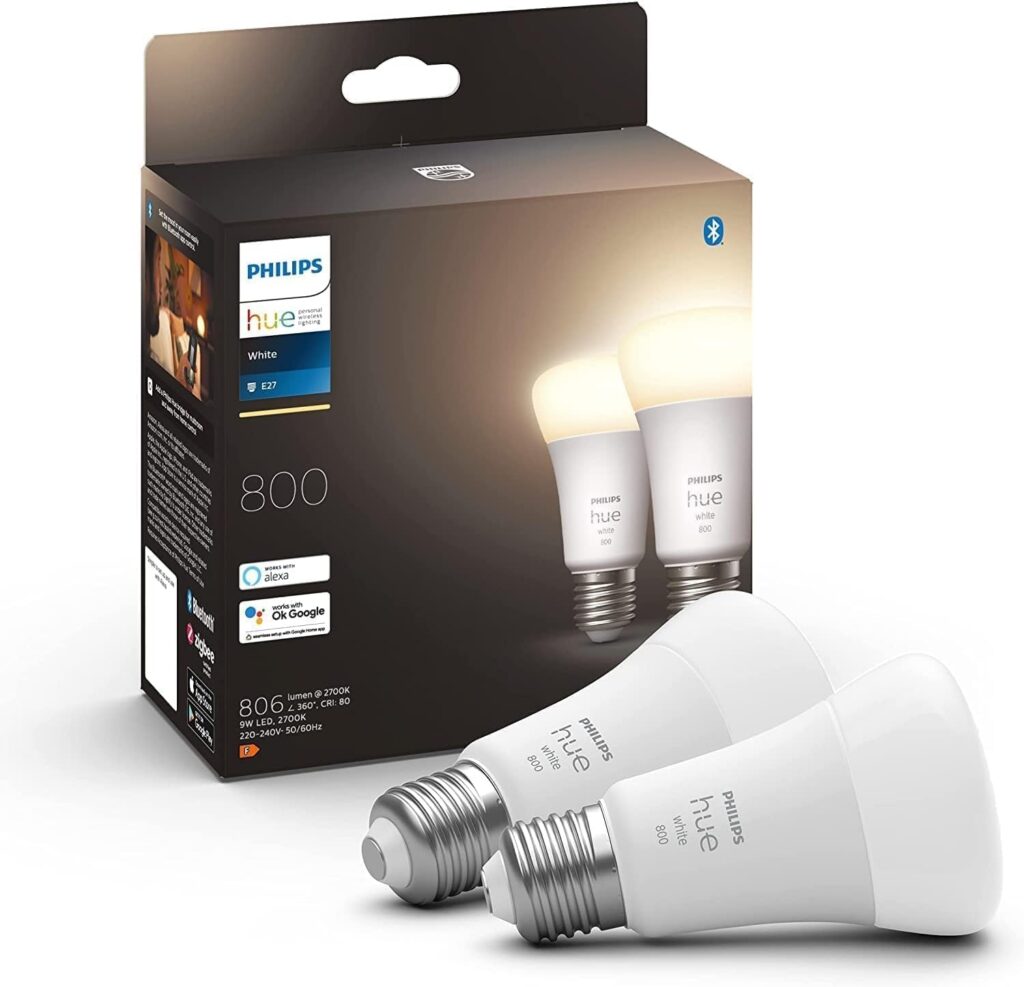
The key setting for theater use is dimming range. You want bulbs that can go down to at least 5% without flickering or turning off entirely. Some budget smart bulbs claim dimming but cut out below 20%, which is too bright for a dark movie scene. Hue handles this flawlessly. I set mine to 5% for movies and 40% for intermissions — the built-in Hue routines make this a one-tap switch.
If your theater room has a wall switch (mine does), consider replacing it with a Lutron Caseta smart switch instead of using smart bulbs. A smart switch means anyone in the house can still flip the switch on the wall, but your automations still work. Smart bulbs require the wall switch to stay on, which confuses guests and family members who do not know the room is “smart.”
Smart Plugs: Controlling Equipment Power
Home theater equipment draws power even when it is off. My receiver, subwoofer, streaming stick, and soundbar together were pulling about 15 watts in standby — not a fortune, but about 130 kWh per year of wasted energy. More importantly, I wanted a clean way to power everything down when not in use without reaching behind the entertainment center.
I plugged my receiver and subwoofer into TP-Link Tapo smart plugs. These are inexpensive, reliable, and work with both Alexa and Google Assistant. I set them to power on as part of my “movie time” routine and power off when I say “movie over.” The receiver takes about 15 seconds to boot up, which is barely noticeable since the lights and blinds are still adjusting during that time.
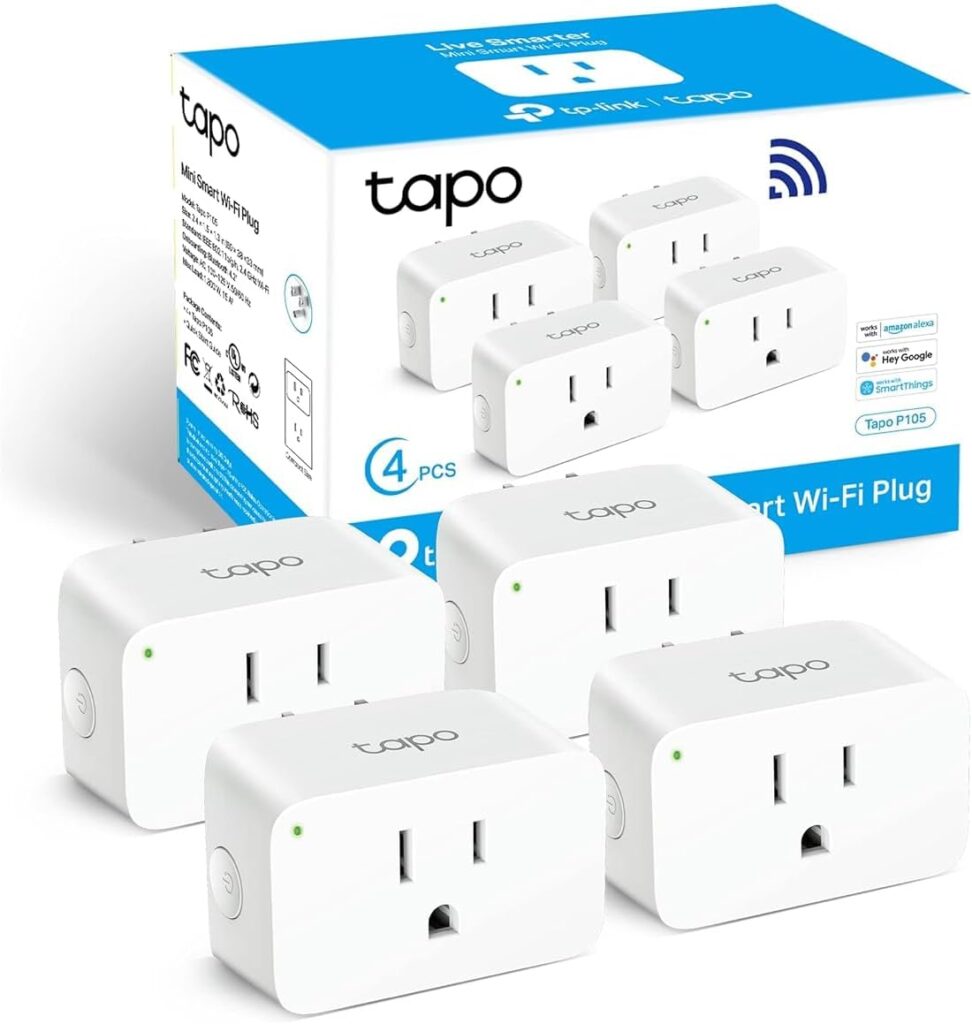
One thing I learned: do not put your TV or streaming device on a smart plug. TVs need soft shutdown sequences, and cutting power abruptly can cause firmware corruption. Smart plugs are best for amplifiers, subwoofers, and powered speakers — equipment that handles abrupt power cycles without issue. If you want to explore more budget-friendly smart plug options, check out our list of 4 smart plugs under 25 dollars worth buying.
Voice Control: The “Movie Time” Routine
This is where everything comes together. Individually, smart lights, smart plugs, and smart blinds are convenient. But the moment you link them into a single voice command, the room transforms from a collection of gadgets into an actual theater experience.
I use an Amazon Echo Show 8 as the command center for my theater. The Show 8 sits on the side table and doubles as a display for doorbell cameras and intercom announcements. But its primary job is running the “movie time” routine.
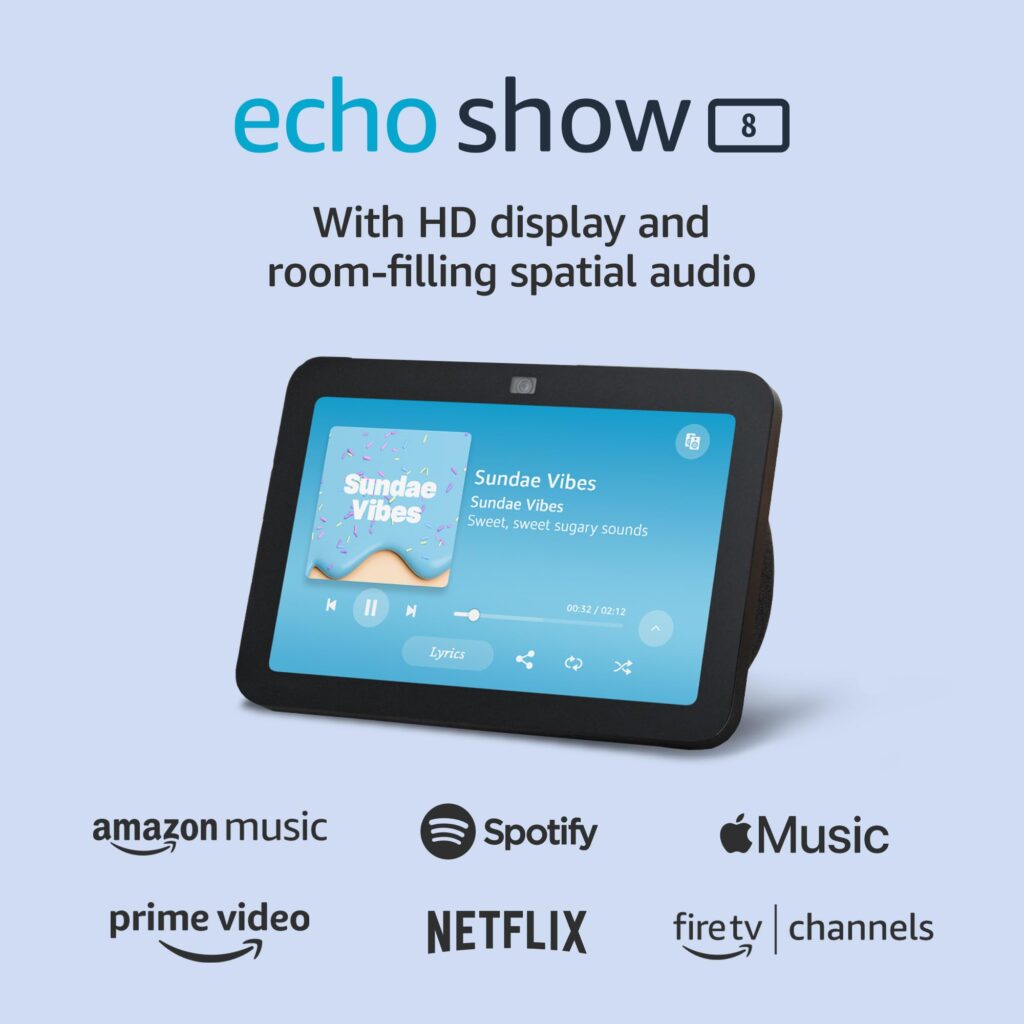
Here is what my routine does when I say “Alexa, movie time”:
- Lights dim to 5% — Philips Hue bulbs ramp down over 3 seconds
- Blinds close — smart blinds motor down over 8 seconds
- Receiver powers on — Tapo smart plug turns on, receiver boots up
- Thermostat drops 2 degrees — Nest thermostat adjusts for body heat
- LED backlighting activates — Govee strips behind the TV turn on at 15% warm white
- TV switches to HDMI 1 — via CEC, no extra hardware needed
The whole sequence takes about 10 seconds from spoken command to ready-to-watch. I do not touch a single remote or light switch. If you want to see more routines like this, our smart home automations guide covers seven daily routines that work across rooms.
Climate Control and Light Blocking
Two things will ruin a movie faster than bad sound: a room that gets too hot with five people in it, and a window that throws a glare across the screen at 7 PM in summer. Both are fixable with smart home tech.
For climate, I use the Nest Learning Thermostat. It is already part of my “movie time” routine, dropping the room two degrees before we sit down. A theater room with closed windows, running electronics, and several bodies heats up fast — without the pre-cool, we would be sweating by the second act. The Nest learns the pattern after a week and starts pre-cooling automatically when it detects the routine firing.
For light blocking, I use motorized smart blinds. These were the most expensive single component in my setup — quality motorized blinds run between 150 and 300 dollars per window, depending on size. If that is out of budget, blackout curtains on a smart curtain rod are a cheaper alternative. Either way, the goal is the same: no manual adjustment, no getting up during the movie, no glare at the worst possible moment. The blinds close as part of the “movie time” routine, and they open again when I say “movie over.”
If you want to keep costs down, a Lutron Caseta smart switch connected to a standard motorized shade works just as well as purpose-built smart blinds at a lower price point. You lose the app-based tilt control, but for a theater room, full open and full closed are all you need.
Ambient Lighting: The Detail That Makes It Feel Real
The last piece I added was also the one I almost skipped: LED strip backlighting behind the TV. I was skeptical — bias lighting seemed like a gimmick. After living with it for three months, I can say it is not. The right backlighting reduces eye strain during dark movie scenes, makes the screen feel larger than it is, and adds a subtle cinema ambiance that you cannot get from overhead lighting alone.
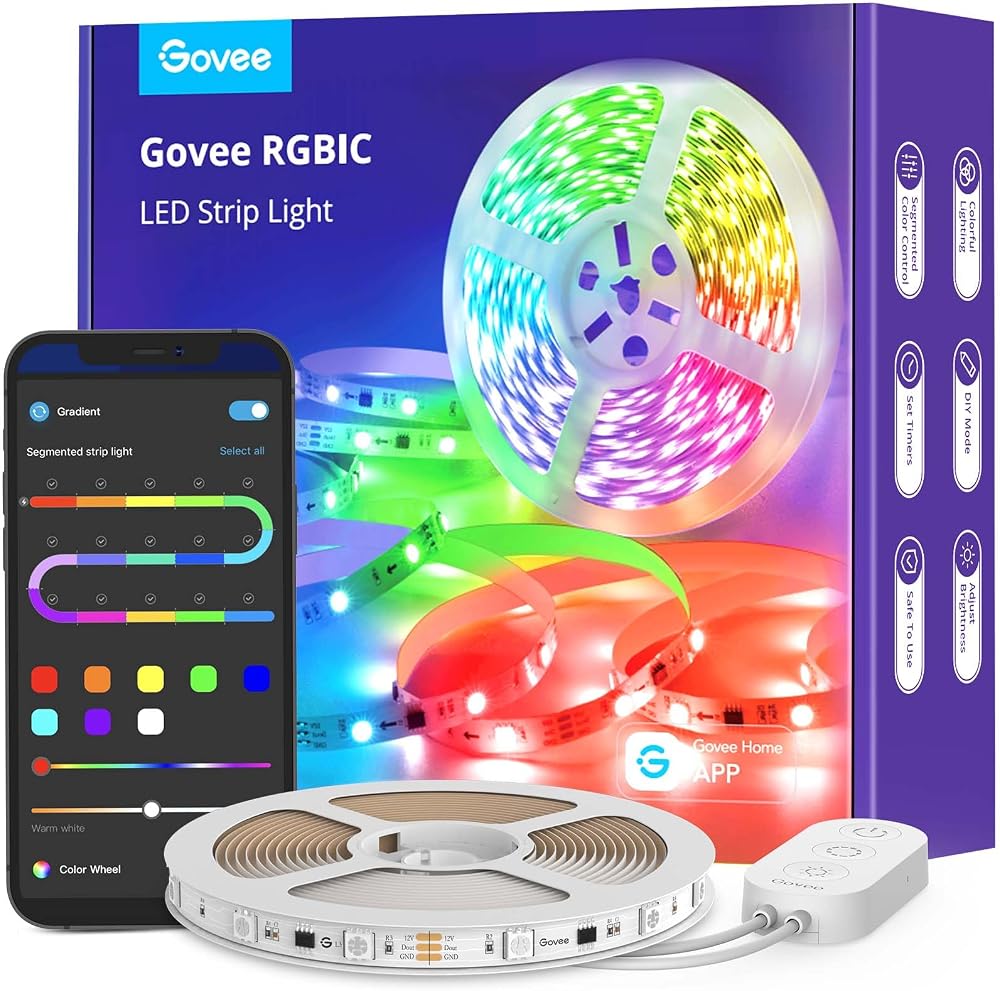
I mounted Govee RGBIC LED strips along the back edge of my TV. The RGBIC version lets each segment display a different color, which means I can set a warm amber glow for movies and a cool blue for gaming. At 15% brightness in warm white, the strips throw just enough light behind the screen to soften the contrast between the bright display and the dark wall. During dark scenes, your eyes do not have to work as hard adjusting between the bright screen and the black room.
The Govee strips integrate with Alexa and Google Assistant, so they are part of the “movie time” routine. When the routine fires, they turn on at 15% warm white. When I say “movie over,” they brighten to 40% to help eyes readjust before the overhead lights come back on. It is a small detail, but it is the kind of thing that makes guests say “how did you do this?”
One of the best parts about this whole setup: none of it requires a monthly subscription. Every device I listed works locally or through a free app. If you are trying to build a smart home without recurring fees, our guide to subscription-free smart home devices covers seven options that never charge you a dime.
What It Cost Me
Here is the full breakdown of what I spent. Your costs will vary depending on how many windows you have, what lighting you already own, and whether you need a smart thermostat or already have one. I am listing only the smart home components — not the TV, receiver, or speakers, which I already owned.
- Philips Hue bulbs (4 pack): Roughly 50 dollars — dimming and color control for two ceiling fixtures
- Philips Hue White bulbs (4 pack): Roughly 30 dollars — additional dimmable bulbs for side lamps
- TP-Link Tapo smart plugs (2 pack): Roughly 15 dollars — controlling receiver and subwoofer power
- Amazon Echo Show 8: Roughly 85 dollars — voice control and routine hub
- Govee RGBIC LED strips (2 x 16.4 ft): Roughly 40 dollars — ambient backlighting behind TV
- Nest Learning Thermostat: Roughly 130 dollars — climate control (I already had this, but listing it here for completeness)
- Lutron Caseta smart switch: Roughly 50 dollars — wall switch control for overhead lights
- Motorized smart blinds (1 window): Roughly 200 dollars — the most expensive single item
Total for smart home theater components: approximately 600 dollars. If you already have a smart thermostat and skip the motorized blinds (using blackout curtains instead), the total drops to about 270 dollars. That is less than the cost of a mid-range soundbar — and it transforms the room far more than a speaker upgrade ever could.
Common Mistakes I Made So You Do Not Have To
Putting the TV on a smart plug. I did this first. My TV would occasionally fail to boot properly because the smart plug cut power too abruptly during a firmware update. I got lucky — no permanent damage — but I learned that TVs need their own soft power-off sequence. Keep smart plugs on amplifiers and passive equipment only.
Forgetting to set up a “movie over” routine. I spent an hour perfecting the “movie time” routine and completely forgot to make a reverse routine. So after every movie, I had to manually turn on lights, open blinds, and power off the receiver one by one. The fix took five minutes — I created a second Alexa routine that reverses every action. Now “movie over” brings the room back to normal in about 15 seconds.
Dimming lights too low. I initially set the lights to 0% for movies, which meant complete darkness. That sounds great until someone needs to get up for a bathroom break and cannot see the steps. 5% is the sweet spot — dark enough for immersion, bright enough to navigate without a flashlight.
Not testing the thermostat offset. I set the movie routine to drop the thermostat by 3 degrees, which sounded reasonable. In practice, with five people and running electronics, the room was freezing by the 90-minute mark. I dialed it back to 2 degrees, which works perfectly. Test with the actual number of people who will be in the room.
Not a Prime member yet? Get FREE 2-day shipping on millions of items. Start your 30-day Prime free trial
The Bottom Line
A great home theater is not about the most expensive projector or the biggest screen. It is about the experience — walking into the room, saying two words, and watching everything adjust itself around you. The smart home components I added cost less than a single piece of audio equipment, but they had a bigger impact on the experience than any speaker upgrade I have ever made.
Start with lighting. Add voice control. Build a routine. Everything else is a refinement on top of that foundation. You do not need to buy everything at once — I built mine over six months, adding one piece at a time, and each addition made the room noticeably better.
The best part? None of this requires a subscription, a professional installer, or a dedicated room. You can do it in a bedroom, a living room, or a basement. The tech is cheap enough now that the only real question is which room you want to transform first.
Disclosure: This post contains affiliate links. If you buy through them, I earn a small commission at no extra cost to you.
🏠 Get Your Free Smart Home Setup Checklist
Join our newsletter and get this free printable plus weekly tips.