So you want a smart home. You’ve seen the ads. The videos. The neighbor who casually says “Alexa, turn off everything” and every light in their house goes dark like they’re running a supervillain lair.
But where do you actually start? What do you buy first? And how do you avoid ending up with twelve devices, seven apps, and a spouse who’s ready to throw your smart speaker out the window?
This guide covers your first 30 days — what to buy, what to set up, and what to skip until you know what you’re doing.
Day 1-3: Pick Your Platform
Before you buy anything, pick your voice assistant. This is the foundation everything else builds on, and you only get one per room (they don’t play nice together).
Your three options:
- Alexa (Amazon) — Most device support, best for budget setups, biggest “skills” library. Trade-off: Amazon collects more data than you’d like.
- Google Home (Google) — Best voice recognition, great for answering questions, solid device support. Trade-off: Google is also in the data business.
- Apple HomeKit (Siri) — Best privacy, smoothest experience if you own iPhones. Trade-off: Fewer compatible devices, higher prices.
Don’t overthink this. If you already own an Echo, go Alexa. If you have a Nest thermostat, go Google. If your entire life is Apple, go HomeKit. You can read our Alexa vs Google Home comparison for the full breakdown.
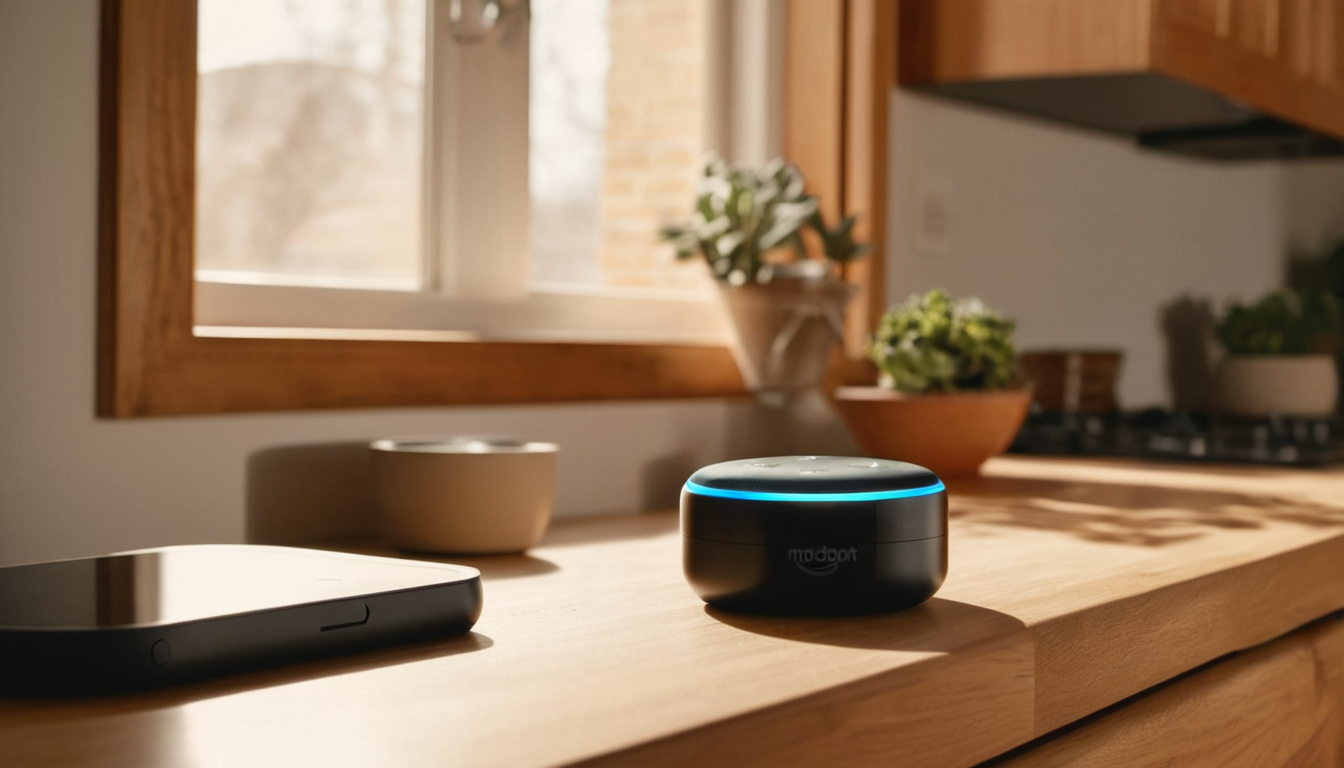
Buy this: One smart speaker or display for the room you spend the most time in. That’s it for now.
Day 4-7: Add Smart Lighting
Smart lighting is the single best first smart home upgrade. It’s immediately useful, easy to set up, and gives you that “wow, the future is here” feeling every single time.
Start with smart bulbs, not switches. Bulbs are plug-and-play. Switches require wiring knowledge you might not have yet.
What to buy:
- 2-3 smart bulbs for your most-used rooms (living room, bedroom, kitchen)
- Stick with one brand — mixing Philips Hue, LIFX, and Wyze bulbs in the same room is a headache
Philips Hue is the gold standard but expensive. Wyze Bulbs are the budget pick and work great. For a deeper dive, see our best smart bulbs for beginners guide.
Set up these automations:
- “Goodnight” — turns off all lights, dims bedroom to 10%
- “Movie time” — dims living room lights to 20%
- “Away” — randomizes lights when you’re not home
That’s it. Three automations that make a real difference from day one.
Shop Wyze Smart Bulbs on Amazon →

Day 8-14: Smart Plugs — The Silent MVPs
Smart plugs are the most underrated smart home device. They turn anything with a physical power switch into a smart device for about $10 each.
Use cases that actually matter:
- Coffee maker — “Alexa, start the coffee” means walking downstairs to a fresh pot
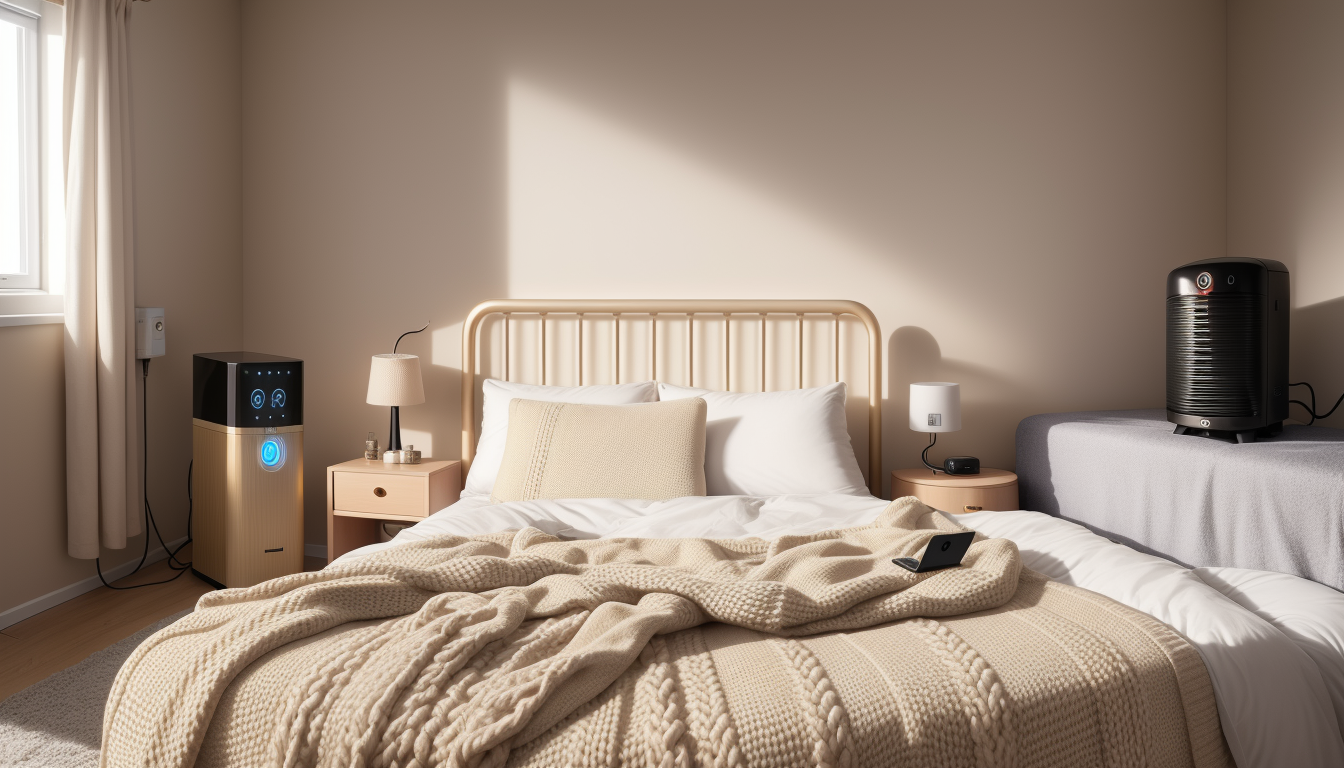
- Space heater — auto-off after 30 minutes so you never leave it running
- Holiday lights — scheduled on/off instead of climbing behind the tree
- Living room lamp — plug it in, add it to your “Goodnight” routine
What to buy: A 4-pack of smart plugs. They’re cheap enough that you can’t go wrong.
Avoid this mistake: Don’t use smart plugs on high-wattage devices like air conditioners or hair dryers unless the plug is rated for it. Most smart plugs max out at 15 amps. Our best smart plugs guide has specific recommendations.
Day 15-21: Add Security You’ll Actually Use
By week three, your smart home should start paying for itself. Security devices are where that happens — not because they’re exciting, but because they prevent expensive problems.
Start here:
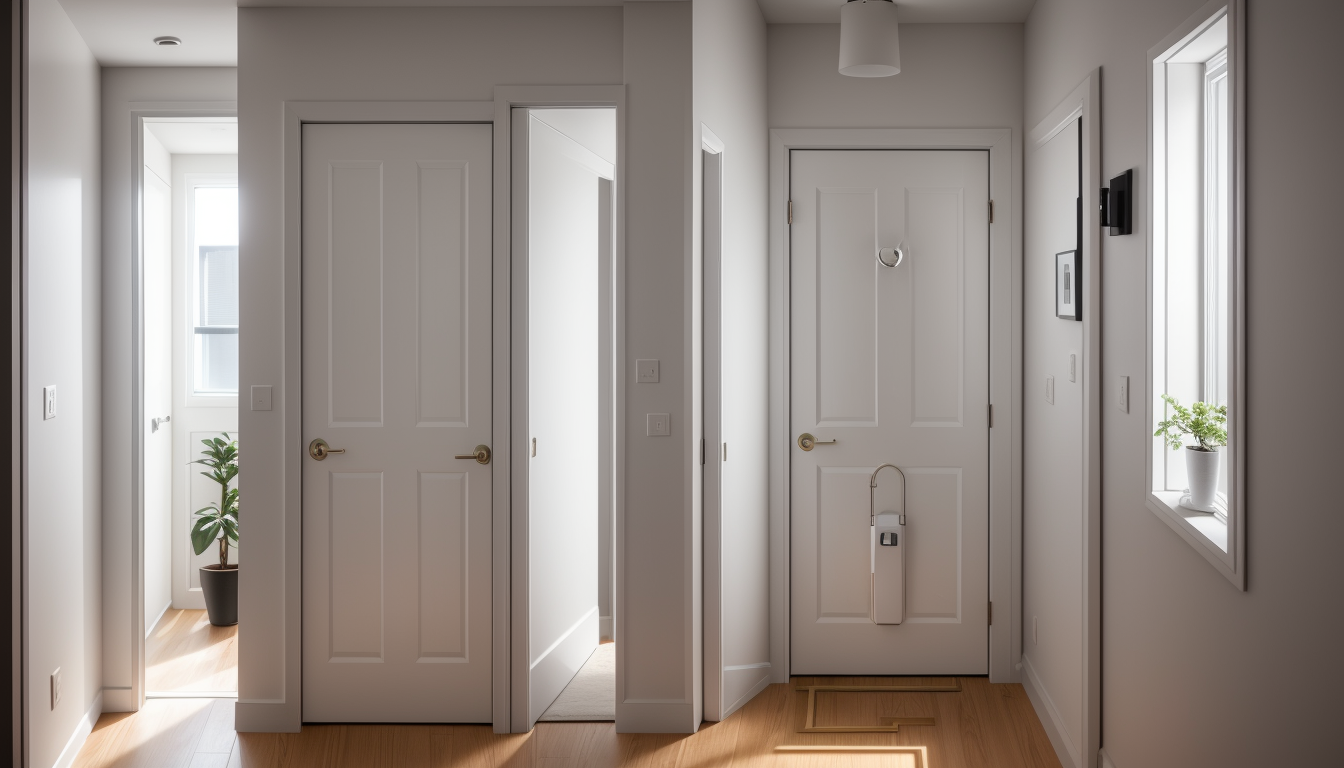
- Smart doorbell camera — See who’s at the door from anywhere. Ring and Wyze are the main options. Our Ring vs Wyze comparison breaks down the real costs.
- Smart lock — Never lock yourself out again. August locks retrofit onto your existing deadbolt (great for renters). See our smart lock buying guide.
- Water leak sensor — A $25 sensor that can save you $5,000 in water damage. This is the highest-ROI smart home device. Period. Read our smart water leak detectors guide for picks.
Don’t buy a full security system yet. Start with these three. If you want the full setup, see our smart home security under $200 guide.
Shop Water Leak Sensors on Amazon →
Day 22-28: Climate Control That Saves Money
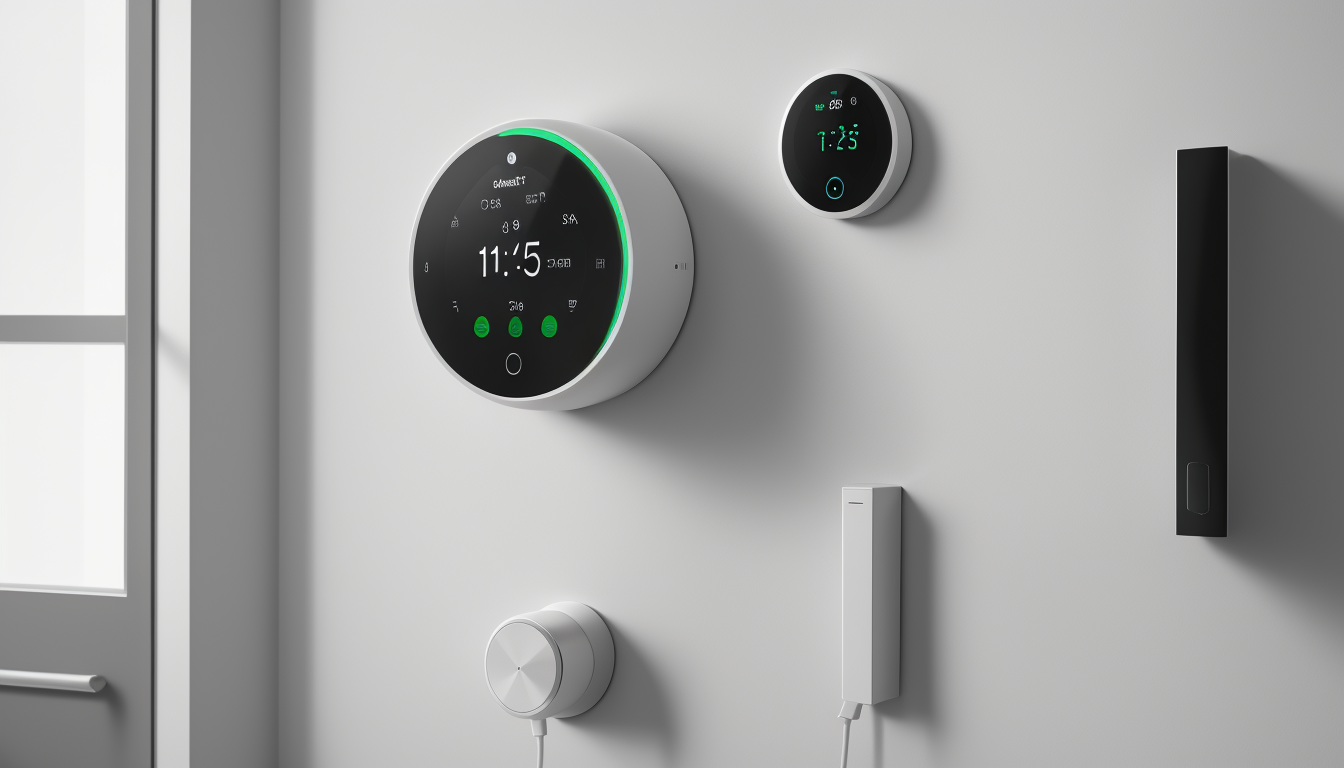
Smart thermostats are the one smart home device that literally pays for itself. The EPA estimates an average savings of $50-100/year on heating and cooling.
The math:
- Ecobee or Nest thermostat: $150-250
- Annual energy savings: $50-100
- Payback period: 1.5-5 years
Buy this if: You have central HVAC and a thermostat you can replace yourself. (Renters, check with your landlord first — or see our renter-friendly smart home guide for options that don’t require wiring.)
Don’t buy this if: You live in a mild climate where you rarely run the AC or heat. The savings won’t materialize. Use our smart thermostat savings calculator to estimate your actual ROI.
Shop Ecobee Thermostat on Amazon →
Day 29-30: Decide If You Need a Hub
After 30 days with 5-10 smart devices, you’ll know whether you want to go deeper. That’s when a hub becomes relevant.
Signs you need a hub:
- You have devices in 3+ different apps
- You want automations that involve multiple devices (“if motion detected and it’s after 9pm and someone is home, turn on the hallway light to 30%”)
- You care about your automations working when the internet is down
Signs you don’t need one yet:
- All your devices work fine through Alexa or Google Home
- Your routines are simple (on/off, schedule-based)
- You have fewer than 10 devices
If you’re ready for a hub, check out our best smart home hubs guide for the full breakdown.
The Complete Beginner Shopping List
Here’s everything we recommended, in order of priority:
1. Smart speaker — $30-100 (the brain)
2. 3-4 smart bulbs — $30-80 (the instant gratification)
3. 4-pack smart plugs — $20-40 (the MVP)
4. Water leak sensor — $20-30 (the insurance policy)
5. Smart doorbell — $40-100 (the security upgrade)
Total for a solid starter setup: $140-350
That’s a real smart home. Not a gimmick. Not a toy. Something that saves you time, money, and hassle every single day.
And if you want to go even cheaper, our smart home setup under 100 dollars guide shows you how.
Common Beginner Mistakes to Avoid
We wrote a whole post about this, but here are the big ones:
- Buying everything at once — Start with 2-3 devices. Add more once you understand how they work.
- Mixing ecosystems — Alexa and Google Home don’t play well together. Pick one.
- Ignoring Matter — New devices should support Matter. It’s the universal standard that makes everything work together. Read our Matter 2.0 guide for the details.
- Skipping the automations — A smart bulb you control with your phone is just a remote-controlled bulb. The magic happens when you set up routines.
- Forgetting about Wi-Fi — Every smart device is another thing on your network. If your router is from 2018, upgrade it. See our best Wi-Fi routers for smart homes guide.
For the full list of mistakes (and how to fix them), check out 12 Smart Home Mistakes Almost Every Beginner Makes.
What Not to Buy in Your First 30 Days
Some devices sound cool but aren’t worth it until you have more infrastructure:
- Smart blinds — Expensive, installation-heavy, niche. Wait until you have a hub and routines set up.
- Smart appliances — A smart fridge that tells you when milk expires is not worth $3,000. Skip it.
- Robot vacuums — Great once you have a larger setup, but not a Day 1 device.
- Smart sprinklers — Seasonal and niche. Add this in month 3-4, not month 1.
When you’re ready for more devices, our smart home devices that pay for themselves guide shows which ones actually save you money.
The Bottom Line
Your first 30 days should be simple: one platform, a few lights, some plugs, and a security sensor or two. Skip the fancy stuff. Build the foundation. The “supervillain lair” stuff comes later.
Smart homes aren’t about having the most devices. They’re about the right devices working together in ways that make your life slightly easier every day. Start small, learn what works, and expand from there.
That’s it. Go buy a smart speaker and three bulbs. You’ll figure out the rest.