This article contains affiliate links. We may earn a commission from qualifying purchases.
Some content on this site is AI-assisted and reviewed by our editorial team.
I never thought about smart home tech in the bathroom until I nearly flooded my house. A slow leak behind the toilet ran for three days before I noticed the warped baseboard. That was the moment I realized the bathroom — probably the most water-heavy room in any home — desperately needed sensors and automation. Since then I have added five smart devices to my bathroom, and they have saved me from two more leaks, lowered my energy bill, and made morning routines genuinely easier.
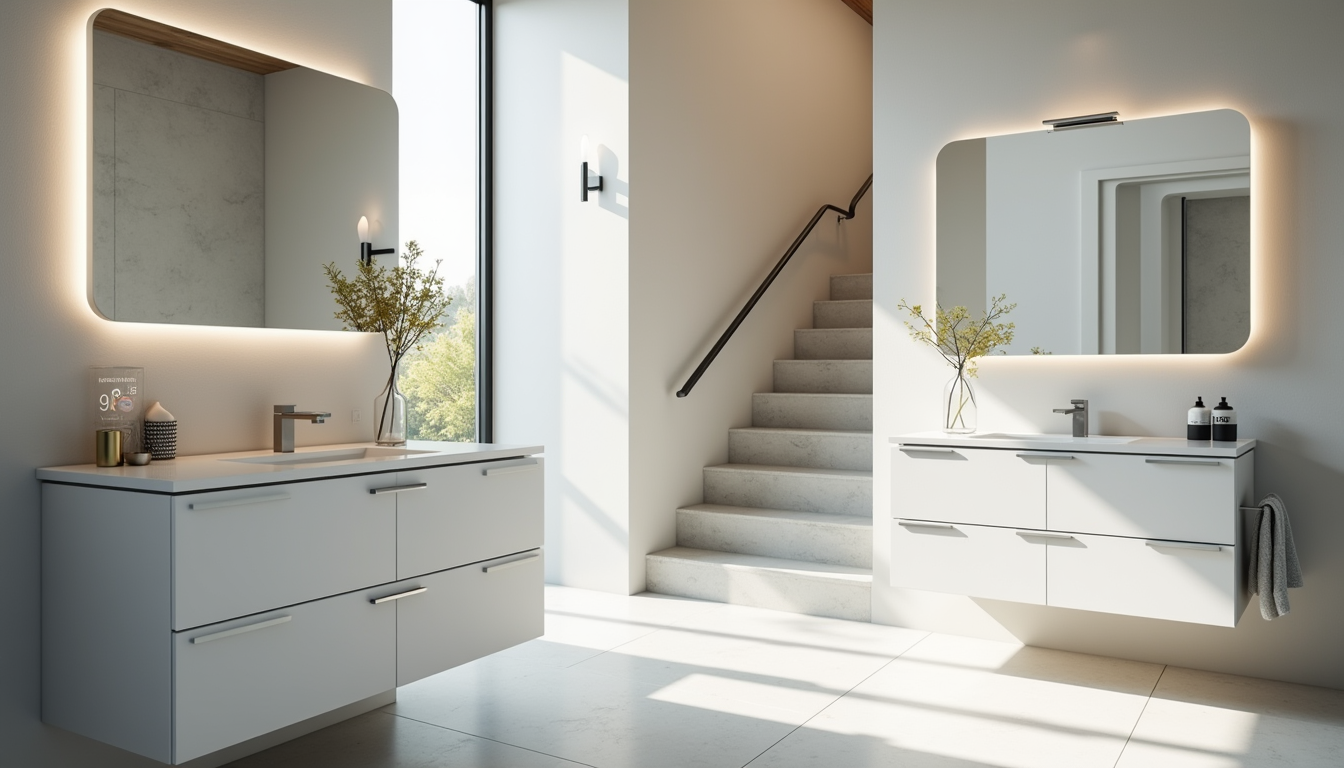
If you already have smart home tech in your living room or kitchen, extending it to the bathroom is straightforward. The main thing to know is that bathrooms need water-resistant or waterproof devices, and you have to be careful about where you place anything that plugs into a wall outlet. Here is everything I installed and how it fits together.
1. Water Leak Sensors (The Most Important Device)
Start here. Water leak sensors are the cheapest, most impactful smart home device you can put in a bathroom. I placed Aqara water leak sensors under the sink cabinet, behind the toilet, and near the base of the bathtub. All three connect to an Aqara Hub M3 that integrates with my Apple Home setup.
When any sensor detects water, it sends an immediate push notification to my phone and triggers all my smart lights to flash red. The sensors also track temperature and humidity, which turns out to be useful for knowing when the exhaust fan needs to run — more on that below.
At roughly 25 dollars for a three-pack of sensors, this is the best value on the list. The sensor behind my toilet caught a slow wax ring leak six months ago that I would not have noticed until the subfloor was ruined. That single alert saved me what would have been a 3,000 dollar repair bill.
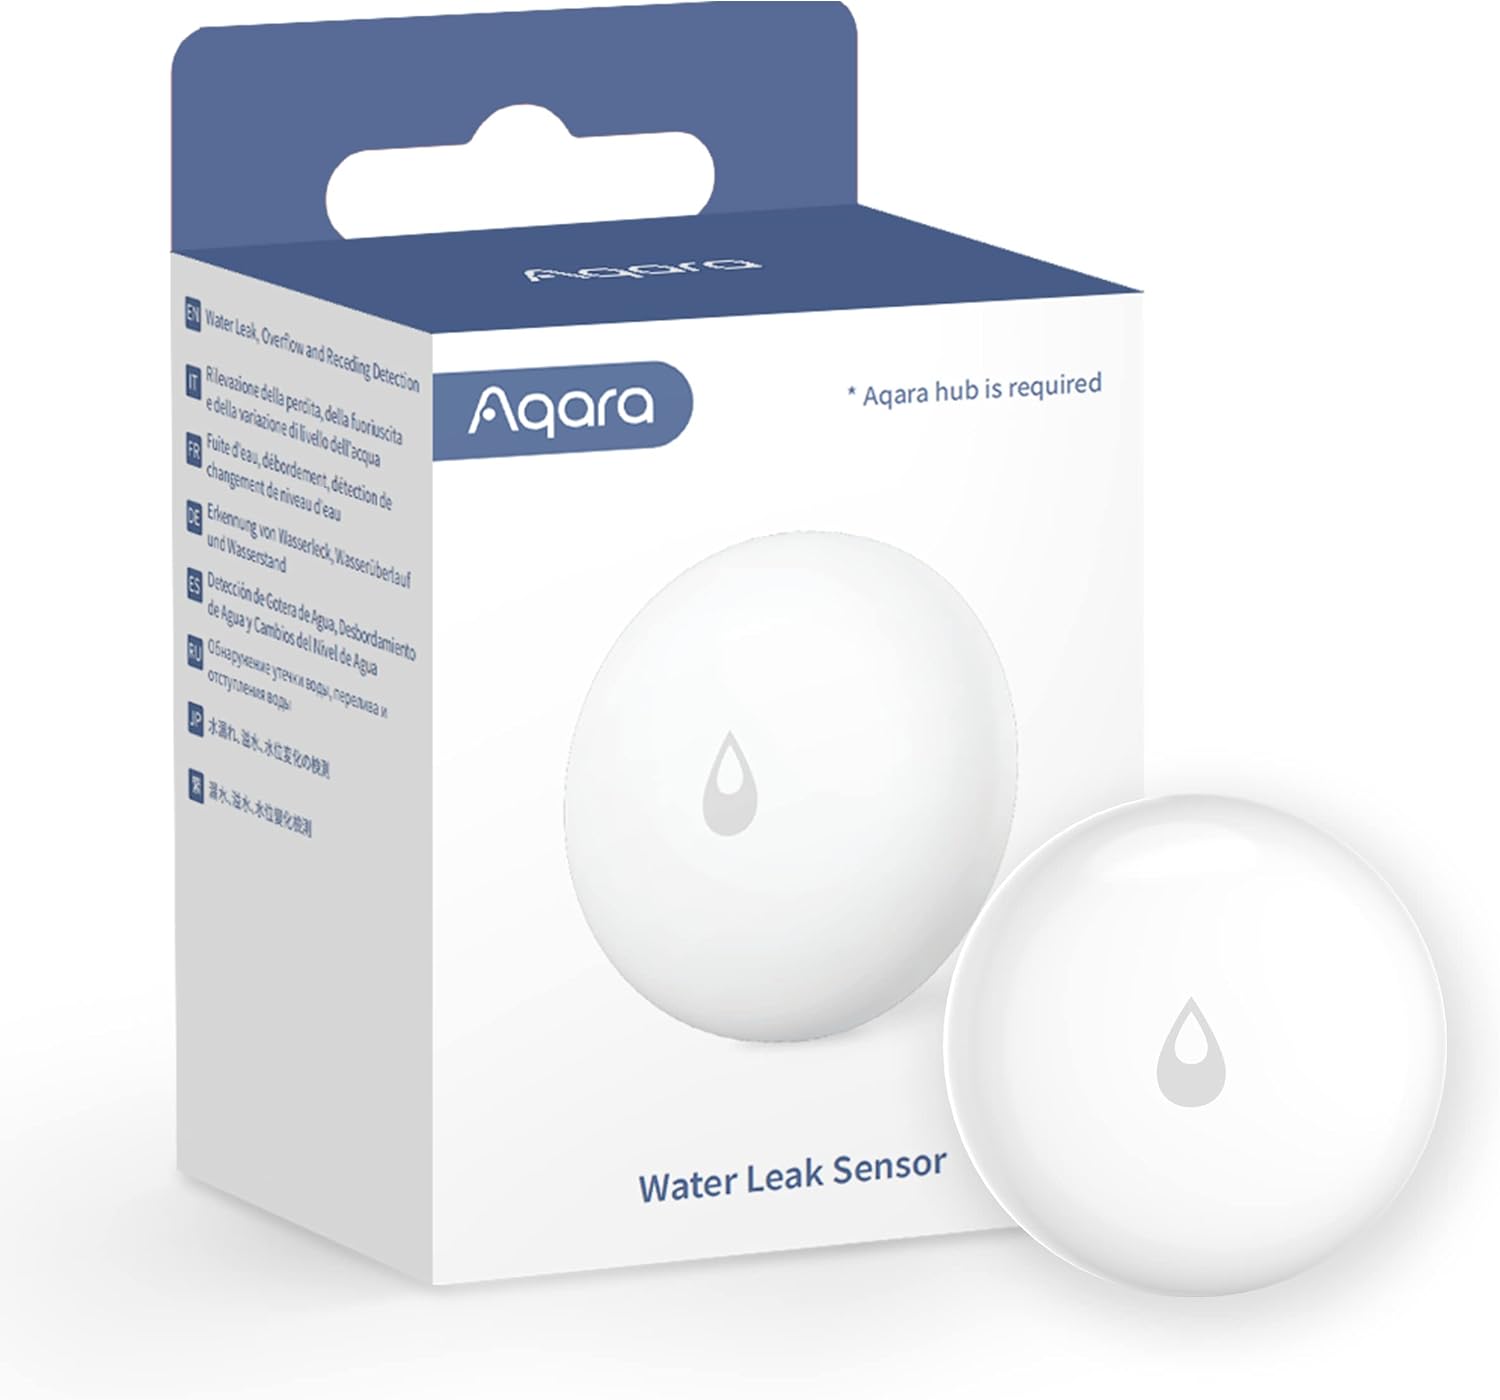
You can also connect leak sensors to broader home safety routines so that a leak triggers more than just a phone notification — for example, turning off a smart water valve if you have one installed on your main supply line.
2. Smart Exhaust Fan Control
Bathroom humidity is silent destruction. Over time, excess moisture warps paint, grows mold, and damages drywall. My old exhaust fan had a manual switch that I often forgot to flip, meaning steam sat in the room for hours after a shower. I fixed this with a Lutron Caseta smart switch connected to the fan.
The setup is simple: the smart switch replaces the wall switch that controls your exhaust fan. Then you create an automation that turns the fan on when humidity rises above 60 percent and turns it off when it drops below 50 percent. I use an Aqara temperature and humidity sensor (the same leak sensors track humidity) as the trigger, and the Lutron switch as the action.
If you want to understand how humidity sensors fit into the bigger picture, I wrote about smart home humidity control and the automations that actually work — the bathroom was the biggest source of humidity in my house.
3. Smart Lighting for Morning and Night
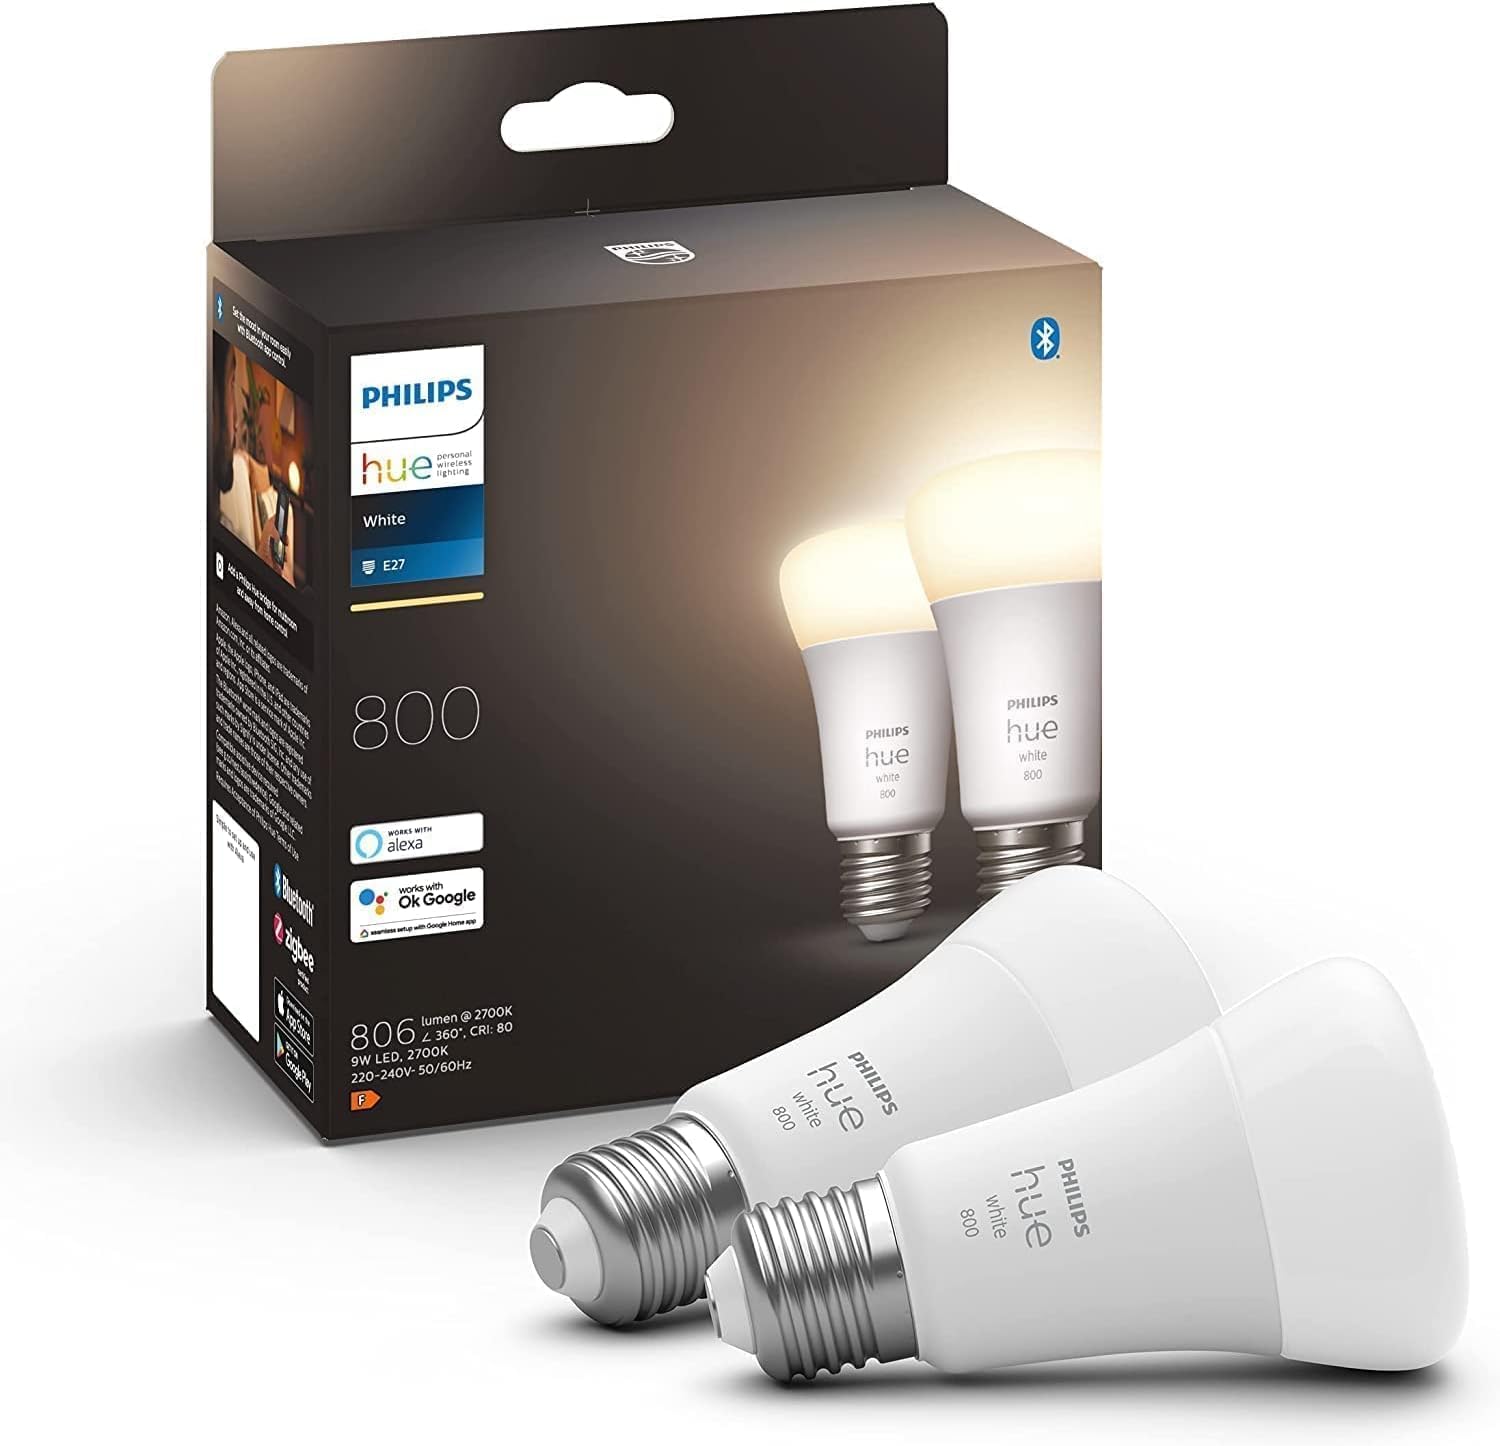
Bathroom lighting is tricky. At 6 AM you want bright, cool-white light so you can see what you are doing. At 10 PM you want dim, warm light that does not blind you when you stumble in to brush your teeth. I solved this with Philips Hue color bulbs in the vanity fixture.
I set up two routines. The morning routine, triggered at 6 AM, sets the bulbs to 100 percent brightness at 4000K cool white. The evening routine, triggered at 9 PM, drops them to 20 percent brightness at 2700K warm white. The difference is immediately noticeable — the warm dim setting is gentle enough that it does not wake me up fully if I just need to use the bathroom at night.
For a budget alternative, Philips Hue White bulbs give you dimming without the color temperature control at about half the price. You lose the cool-to-warm shift, but you still get the brightness scheduling. If you are deciding between platforms, our smart home lighting comparison guide covers the tradeoffs in detail.
4. Smart Plug for Heated Towel Rack
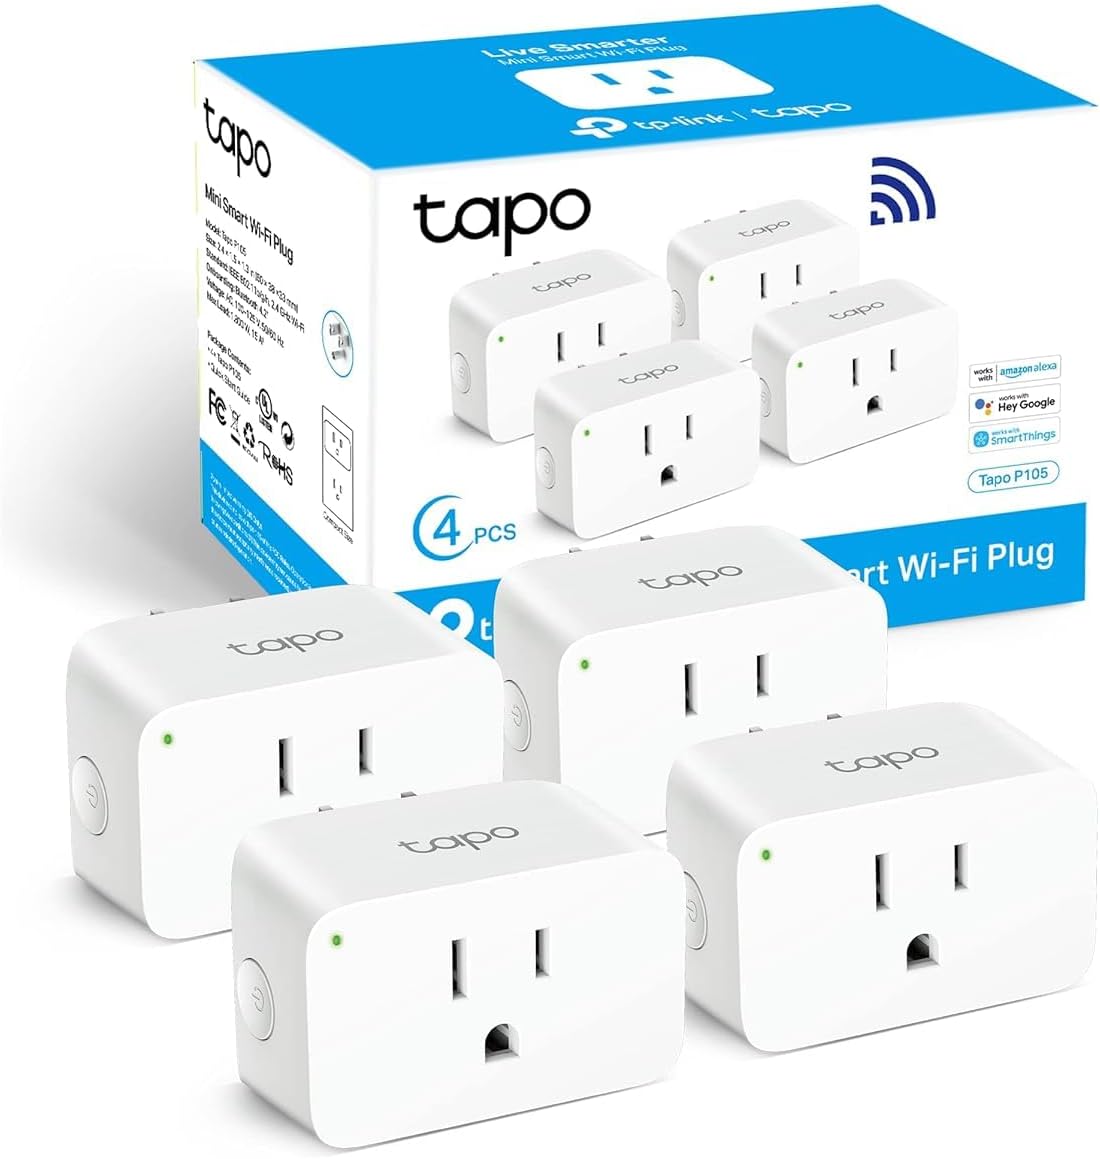
This one sounds like a luxury, but it is genuinely one of my favorite bathroom upgrades. I have a heated towel rack plugged into a TP-Link Tapo smart plug. The smart plug runs a schedule: the towel rack turns on 30 minutes before my usual shower time and turns off 30 minutes after. This means warm towels exactly when I need them and no wasted electricity for the other 23 hours of the day.
Before the smart plug, I would either leave the rack on all day (wasting power) or forget to turn it on (cold towels). The schedule solved both problems. The Tapo plug costs about 15 dollars and handles the 400-watt load of the towel rack without issue.
If you want more smart plug ideas, I put together a list of smart plugs under 25 dollars that are actually worth buying — several work great for bathroom appliances.
5. Smart Mirror with Built-In Display
This is the one device I was skeptical about but ended up loving. I installed a smart mirror over the vanity that displays time, weather, and calendar when the screen is active, and functions as a regular mirror when it is off. It connects to WiFi and integrates with Alexa, so I can ask for the weather forecast while I am getting ready without pulling out my phone.
The mirror turns on automatically when the bathroom lights come on in the morning (triggered by the Hue routine) and turns off when the lights go to the evening dim setting. It is a small thing, but glancing at the weather while brushing my teeth has become part of my morning routine.
Cost Breakdown: What I Spent
Here is what each piece costs so you can build a budget. I spread these purchases over several months.
- Aqara water leak sensors (3-pack) plus Hub M3 — approximately 80 dollars total
- Lutron Caseta smart switch (for exhaust fan) — roughly 50 dollars
- Philips Hue color bulbs (2-pack for vanity) — roughly 50 dollars
- TP-Link Tapo smart plug (for towel rack) — roughly 15 dollars
- Smart mirror with built-in display — 150 to 200 dollars depending on size
The total came to about 400 dollars. The leak sensor alone saved me thousands in potential water damage, so the system paid for itself the first time it caught that wax ring leak. If you skip the smart mirror, the total drops to about 200 dollars — and you still get leak protection, humidity control, automated lighting, and scheduled towel warming.
Common Mistakes to Avoid
Placing Electronics Where They Get Wet
This should be obvious, but I have seen people put smart plugs directly behind the toilet or on the floor near the tub. Water and electricity do not mix. Place sensors on the floor (they are designed for it), but keep smart plugs, hubs, and anything else powered well above floor level and away from any splash zone. If your bathroom outlet is not GFCI-protected, get an electrician to upgrade it before adding any smart devices.
Forgetting to Replace Sensor Batteries
Water leak sensors run on coin cell batteries that last about two years. I check all my sensor batteries every six months — it takes five minutes. A dead leak sensor is worse than no sensor at all because it gives you false confidence that you are protected.
Running the Exhaust Fan Manually
If you have a smart switch on your fan, let the automation handle it. I initially kept using the manual override because I was used to flipping the switch, and within a week I had forgotten to turn it on after a shower twice. Trust the humidity sensor — it knows when the fan needs to run better than you do.
Using Non-Waterproof Devices in the Bathroom
Not all smart home devices are rated for bathroom use. Check the IP rating before installing anything. Leak sensors are fine because they are designed for wet environments. Smart bulbs in a vanity fixture are fine because they are enclosed. But a smart speaker sitting on the counter near the shower is asking for trouble — use a bathroom-rated model or keep it well away from moisture.
Bottom Line
The bathroom was the last room I thought about when I started building my smart home, and it turned out to be one of the most important. Water damage is expensive, and the sensors that prevent it are cheap. The comfort upgrades — automated lighting, warm towels, humidity control — are bonuses on top of the peace of mind. If you are only going to do one thing on this list, buy three leak sensors and put them under your sink, behind your toilet, and near your tub. That is 25 dollars and ten minutes of work, and it might save you thousands.
Not a Prime member yet? Get FREE 2-day shipping on millions of items. Start your 30-day Prime free trial
Disclosure: This post contains affiliate links. If you buy through them, I earn a small commission at no extra cost to you.
🏠 Get Your Free Smart Home Setup Checklist
Join our newsletter and get this free printable plus weekly tips.