
Most people skip ceiling fans when building a smart home. Lights, thermostats, locks — those get all the attention. But ceiling fans run more hours per day than almost anything else in your house, and automating them can cut your cooling costs by up to 40 percent without touching your AC.
The best part? You probably don’t need to replace your current fan. A smart fan controller installs in about 15 minutes and gives you voice control, schedules, and temperature-triggered automations for under 50 dollars.
Why Bother Making Your Ceiling Fan Smart?
Here’s the math most people miss: running a ceiling fan costs about 1 cent per hour. Running your central AC costs 20 to 50 cents per hour. If a smart fan controller lets you raise your thermostat by 3 to 4 degrees (which feels the same with a fan running), you save 10 to 15 percent on cooling costs. That pays for the controller in about two months.
Beyond savings, smart fan control means:
- No more forgetting to turn off fans — automations handle it
- Temperature-triggered speed — fan ramps up when it gets hot, slows down when it cools off
- Bedtime routines — fan turns on and sets to low as part of your night routine
- Vacation mode — fans run periodically to keep air circulating without running AC all day
Three Ways to Smartify Your Ceiling Fan
1. Smart Fan Speed Control (Best for Most People)
This replaces your existing fan switch with one that controls speed and can be automated. Installation takes 10 to 15 minutes and works with standard ceiling fans that have pull chains or wall controls.
- Bond Bridge — Controls fans that use RF (radio frequency) remotes. Works with fans from Hampton Bay, Harbor Breeze, Minka Aire, and most big-box store brands. No rewiring needed. Just pair it with your existing fan remote frequency.
- Lutron Caseta Fan Speed Control — The gold standard if you’re already in the Lutron ecosystem. Installs in place of your wall switch and gives you 4 speed settings plus off. Requires a Lutron Smart Bridge. Rock-solid reliability.
- GE Enbrighten Z-Wave Fan Control — If you have a Z-Wave hub (SmartThings, Hubitat, Home Assistant), this is a direct wall-switch replacement with 4 speed steps. Budget-friendly at around 35 dollars.
2. Smart Switch Replacement (Simple On/Off)
If your fan only needs on and off (no speed control), any smart switch works. This is the cheapest route — a basic smart switch runs 15 to 25 dollars. You lose speed control, but if you always run your fan on high anyway, that’s fine.
- TP-Link Kasa Smart Switch — Wi-Fi, no hub needed. Set schedules and routines through the Kasa app or tie it into Alexa/Google. About 20 dollars.
- Lutron Caseta Switch — If reliability matters more than price. Lutron’s wireless protocol doesn’t fight with Wi-Fi congestion.
3. Replace the Whole Fan (When It’s Time Anyway)
If your fan is 15+ years old, wobbles, or makes noise, replacing it with a smart fan makes more sense than adding a controller to a dying fan.
- Haiku by Big Ass Fans — Premium. Built-in Wi-Fi, voice control, and a senso
r that auto-adjusts speed based on room temperature and occupancy. Expensive but exceptional.
- Minka-Aire Smart Fans — Mid-range. Work with Bond Bridge out of the box. Good selection of styles.
The Automation Recipes That Actually Matter
Here’s where smart fan control earns its place in your setup. These automations save real money and solve real problems.
Temperature-Triggered Fan
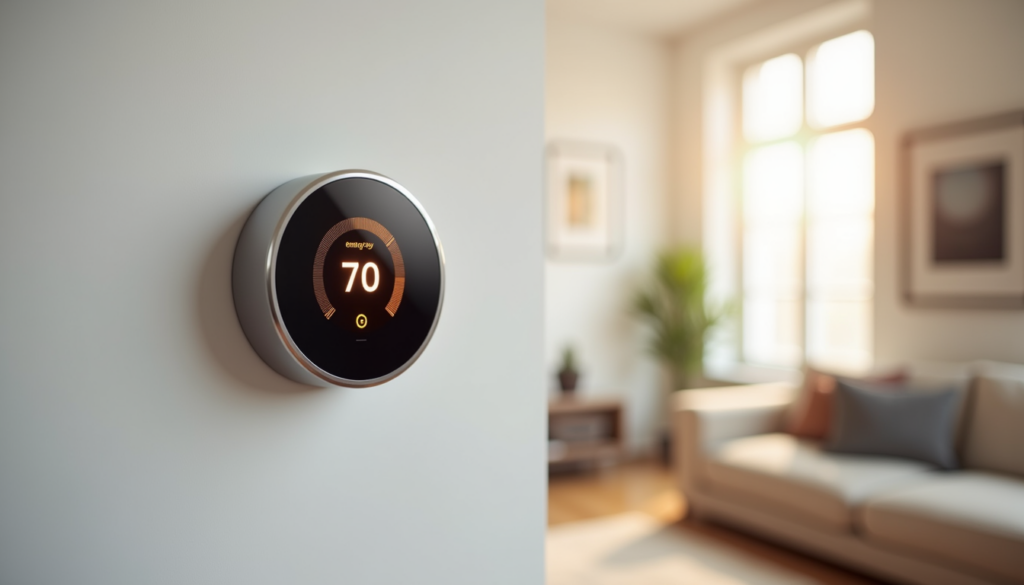
When your thermostat reads above 76 degrees, turn the ceiling fan to medium. When it drops below 72, turn it off. This keeps air moving when you need it and stops the fan from running in an already-cool room.
Bedtime Wind-Down
At 10 PM, set the fan to low. At 11 PM, set it to the lowest speed or turn it off entirely (depending on your preference). No more waking up freezing at 3 AM because you forgot to adjust the fan.
Away Mode Circulation
When you leave for work, turn the fan to low for 30 minutes every 2 hours. Keeps air moving to prevent stale smells and humidity buildup, costs almost nothing, and means you can set the AC higher while you’re out.
Humidity Response
If you have a humidity sensor (even a cheap Govee or Xiaomi one), trigger the bathroom or basement fan when humidity crosses 60 percent. This prevents mold growth before it starts.
Which Ecosystem Should You Pick?
- Alexa — Bond Bridge integrates natively. Voice control works well. Routines can trigger fans based on time but not temperature (without a workaround).
- Google Home — Bond Bridge works here too. Google’s routines are simpler but less flexible than Alexa’s.
- Home Assistant — The only platform that can do full temperature-triggered, humidity-triggered, and occupancy-triggered automations without workarounds. If you already run Home Assistant, this is your best bet.
- SmartThings — Works with Z-Wave and Zigbee fan controllers. Middle ground between Alexa’s simplicity and Home Assistant’s power.
Common Mistakes
- Putting a dimmer switch on a fan — Dimmer switches are for lights, not motors. Using one on a ceiling fan can damage the motor and create a fire hazard. Always use a fan-specific speed control.
- Forgetting about the pull chain — If your fan has a pull chain for speed, set it to the highest speed before installing a smart controller. The controller handles speed from there.
- Skipping the neutral wire check — Most smart switches need a neutral wire. If your switch box doesn’t have one, you need a no-neutral option like Lutron Caseta or the TP-Link Kasa no-neutral switch.
- Expecting instant response with Wi-Fi — Wi-Fi switches can have a 1 to 2 second delay. If that bothers you, go with Lutron (proprietary RF) or Z-Wave for near-instant response.
What About Smart Ceiling Fan Light Kits?
If your fan has a light, you can control it separately from the fan in most cases. The Bond Bridge and Lutron systems both support independent light and fan control. Some smart switches let you program the top and bottom of a dual switch for light and fan separately.
If you just want the light to be smart and don’t care about fan speed, a smart bulb in the fan’s light fixture works too. Just make sure the bulb fits and the fixture doesn’t get too hot (LEDs solve this for most cases).
Bottom Line
Smart ceiling fan control is one of the highest-ROI smart home upgrades you can make. A 35 to 50 dollar controller pays for itself in energy savings within a couple months, and the automations genuinely improve comfort — not just add a gimmick you’ll use once.
Start with a Bond Bridge if your fan uses RF remotes (most do). Go with Lutron Caseta if you want rock-solid reliability and already have Lutron gear. And if you’re running Home Assistant, the automation possibilities are basically unlimited.
Your ceiling fan runs more than almost any other device in your home. It deserves to be smart.