
Your Smart Home Shouldn’t Need Permission From the Cloud
You bought a smart plug. It worked great. Then the app updated, the interface changed, and half the features you liked disappeared. Or maybe the company got acquired, the servers shut down, and your $200 device became a very expensive paperweight. Sound familiar?
This is the dirty secret of the smart home industry: you don’t really own your devices. You rent the ability to use them, month by month, from companies that can change the terms whenever they want. Subscriptions pile up. Features get locked behind paywalls. Privacy policies get “updated.” And there’s nothing you can do about it.
Except there is. It’s called Home Assistant, and it’s the single best way to take back control of your smart home. No monthly fees. No cloud dependency. No company deciding what your devices can and can’t do.
In this guide, I’ll explain what Home Assistant is, what you need to get started, and whether it’s actually right for you (spoiler: it’s not for everyone, and I’ll be honest about that).
What Is Home Assistant, Exactly?
Home Assistant is free, open-source software that runs on a device in your home and connects to all your smart devices directly — no cloud middleman required. Think of it as your own private smart home hub that puts every device you own under one roof, regardless of who made it.

Here’s what that means in plain English:
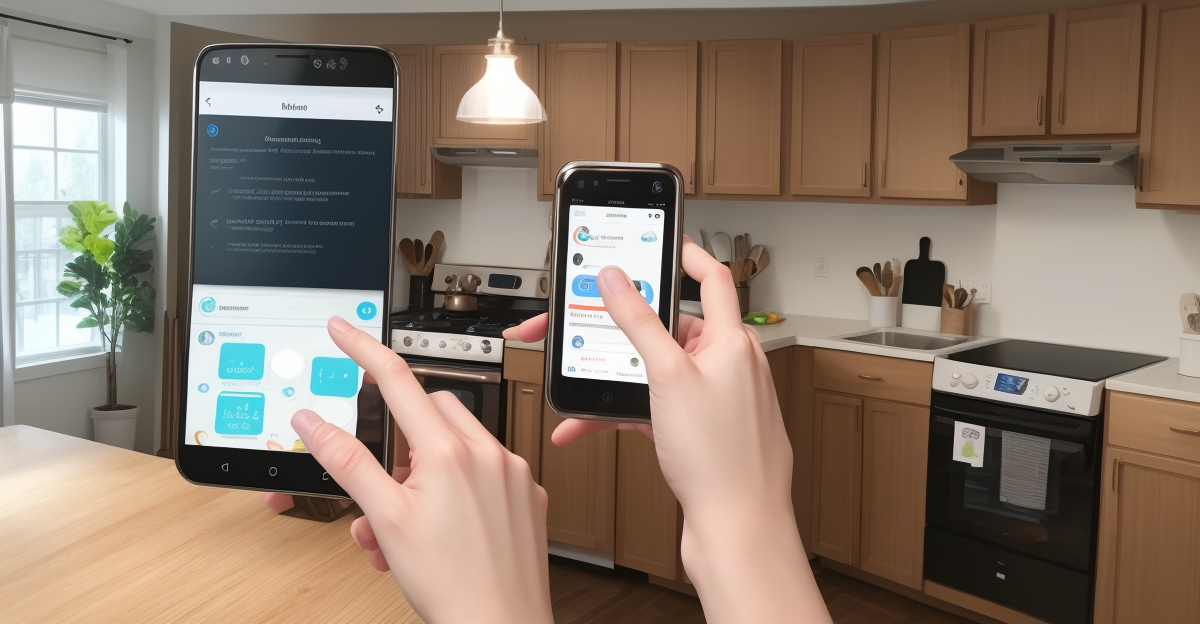
- One app to rule them all. Instead of jumping between the Philips Hue app, the Wyze app, the Ring app, and the Ecobee app, you control everything from a single dashboard you design yourself.
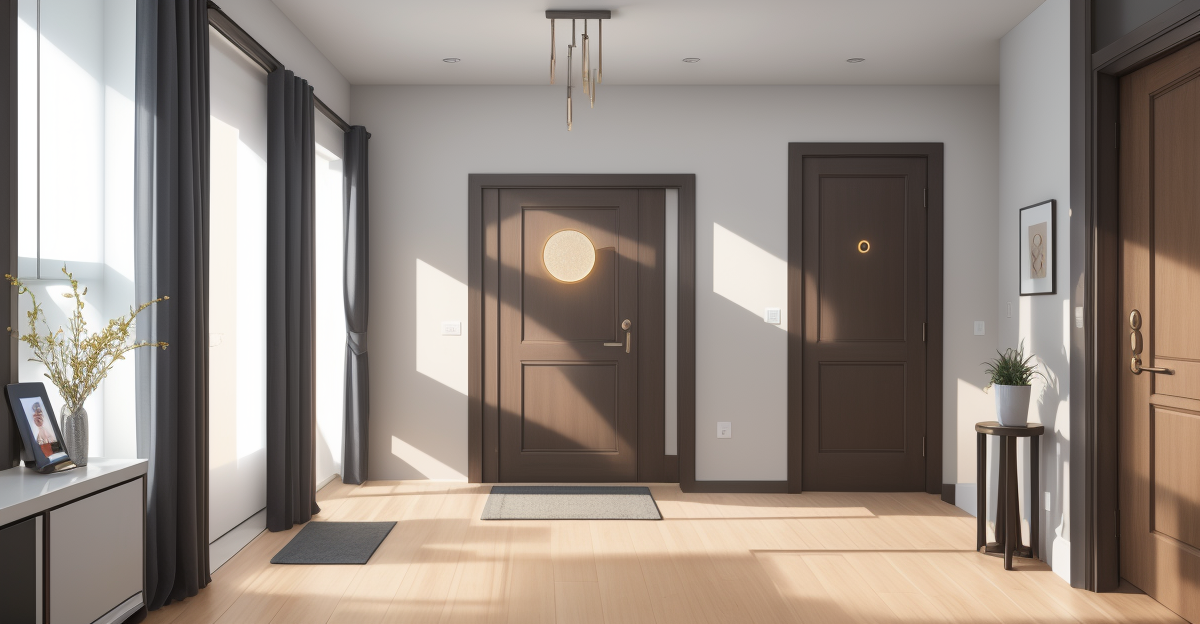
- Automations that actually work. Want your porch light to turn on when your doorbell detects motion and it’s after sunset? Easy. Want your thermostat to adjust when everyone leaves the house? Also easy. These automations run locally, so they’re fast and reliable.
- Privacy by default. Your data stays in your home. No company is logging when you come and go, what temperature you sleep at, or which rooms you use most.
- No subscriptions. Home Assistant is free. Forever. The community builds and maintains integrations for thousands of devices, and nobody’s going to start charging you $3.99/month for the privilege.
Home Assistant isn’t a product you buy. It’s software you install on hardware you already own (or buy cheaply). That distinction matters, and it’s what makes it both powerful and a little intimidating for beginners.
What Hardware Do You Need?
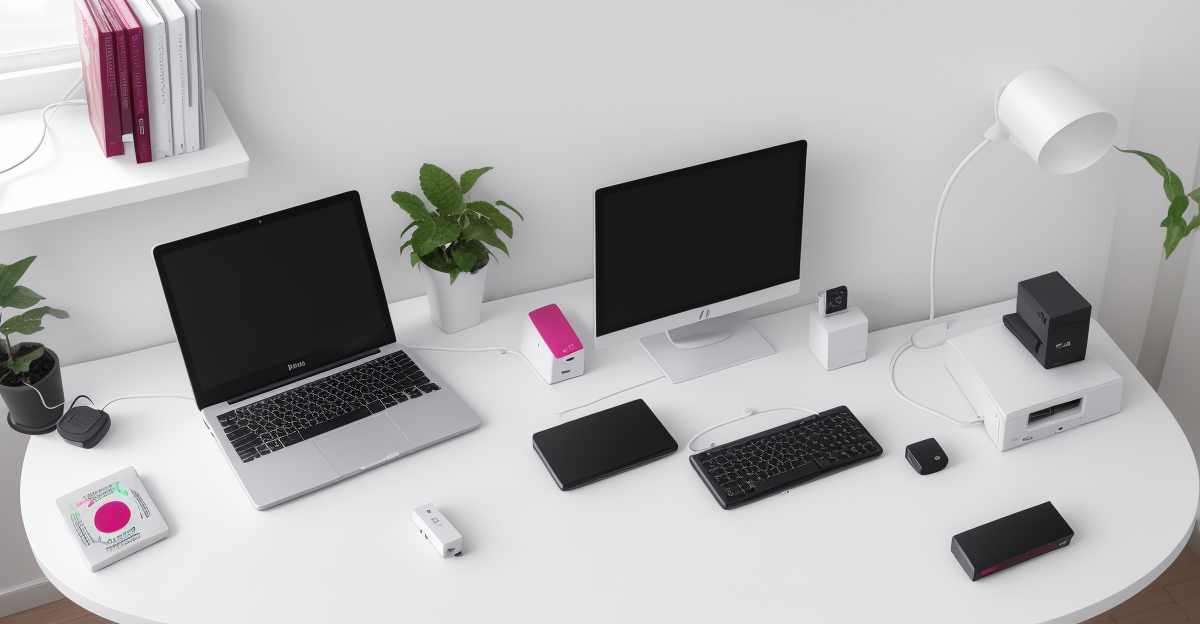
Home Assistant needs a device to run on. You have several options, ranging from “I have $35 and a dream” to “I want this to be bulletproof.”
Option 1: Raspberry Pi (Budget Pick)
The classic starting point. A Raspberry Pi 4 with 4GB of RAM and a 32GB SD card will run Home Assistant just fine for most setups. It’s cheap, it’s small, and it sips power — perfect for a device that runs 24/7.
The downside? SD cards aren’t reliable for always-on servers. They corrupt over time. If you go this route, spring for a quality card or, better yet, boot from a USB SSD instead. Your future self will thank you.
Option 2: Mini PC (Best Value)
For roughly the same price as a Pi setup, you can grab a refurbished mini PC with an Intel N100 processor and get dramatically better performance, built-in SSD storage, and none of the SD card headaches. This is what I’d recommend for most people starting out today. More power, more reliability, similar cost.
Option 3: Home Assistant Green (Easiest Setup)
If the idea of flashing SD cards and configuring network settings makes your eyes glaze over, Home Assistant Green is the official plug-and-play option. You buy it, you plug it in, and it works. It’s a purpose-built hardware device from the Home Assistant team, pre-installed and ready to go.
It’s more expensive than a Pi, but you’re paying for simplicity. No Linux knowledge required. No terminal commands. Just plug, power, and configure through your browser.
Option 4: Home Assistant Yellow (Power User Pick)
Home Assistant Yellow is the premium option with a built-in Zigbee radio, support for add-on boards, and enough horsepower to handle a massive device fleet. If you know you’re going all-in on smart home automation and want hardware that won’t be a bottleneck, this is it.
For a deeper dive into making smart choices with your smart home setup (and avoiding the mistakes almost everyone makes early on), check out our guide on the 12 smart home mistakes beginners make.
Getting Started: The High-Level Roadmap
I’m not going to walk you through every click — the official installation guide does that better than I can. But here’s the big picture of what getting started looks like:
- Pick your hardware. Choose from the options above. Buy it. Set it up.
- Install Home Assistant. If you bought Green or Yellow, this step is done for you. Otherwise, you’ll flash the Home Assistant Operating System onto your device. It’s a dedicated OS — not a full Linux distro you need to manage.
- Open your browser. Home Assistant runs a web interface. Type in the IP address of your device (it shows up as homeassistant.local in most cases) and you’re in.
- Discover your devices. Home Assistant will automatically scan your network and find devices it recognizes. You’ll be surprised how much it picks up without any configuration.
- Set up integrations. For devices that aren’t auto-discovered, you’ll add integrations manually. There are thousands available — from major brands like Philips Hue, Ring, and Ecobee to obscure DIY sensors.
- Build your dashboard. This is where it gets fun. Drag, drop, and customize cards to create a control panel that shows exactly what you care about.
- Create automations. This is the whole point. Start simple, get fancy later.
Total time from unboxing to first automation? Realistically, 1-3 hours depending on your hardware choice and how many devices you’re connecting. Not bad for something that’ll run your entire home.
If you’re renting and worried about compatibility with your living situation, our renter-friendly smart home guide covers which devices work without permanent installation.
5 Automations Worth Setting Up First
Home Assistant can do almost anything, but “anything” is overwhelming. Here are five practical automations to start with that give you immediate, tangible benefits:
1. Lights On When You Come Home
Use your phone’s location (Home Assistant has a great companion app for iOS and Android) to detect when you arrive home, and turn on your entry lights automatically. No more walking into a dark house. Add a condition for sunset so it only triggers at night.
Need smart bulbs or plugs to make this work? Check out WiFi smart plugs for lamps you already own (cheaper than replacing bulbs) or our roundup of the best smart plugs.
2. Morning Routine Trigger
When your alarm goes off (or at a set time), slowly brighten your smart bedroom lights, start your coffee maker via a smart plug, and adjust the thermostat. This is the “I live in the future” automation that makes people jealous when they visit.
A smart plug with energy monitoring on your coffee maker is the key ingredient here — cheap, simple, and surprisingly satisfying.
3. Motion-Activated Security Lighting
Connect a motion sensor to your outdoor smart lights. When movement is detected after dark, lights on. After 5 minutes with no motion, lights off. Basic, effective, and it doesn’t require an expensive security system.
4. Temperature Alerts
Place a temperature and humidity sensor in critical spots — your fridge, a baby’s room, a greenhouse, or a garage with temperature-sensitive items. Get a phone notification if the temperature goes outside a safe range. This is one of those automations you set up once and forget about until it saves you from a costly problem.
5. Guest Mode Toggle
Create a simple “Guest Mode” toggle on your dashboard. When it’s on, automations that might confuse visitors (like auto-off timers on bathroom motion sensor lights) get disabled. When guests leave, toggle it off and everything goes back to normal. It’s a small quality-of-life thing that prevents those “why did the light just turn off on me?” conversations.
For more ideas on smart home cameras that work well with Home Assistant automations, see our Ring vs Wyze cameras comparison.
Home Assistant + Matter: A Perfect Match
If you’ve been following smart home news, you’ve heard of Matter — the new universal standard that lets devices from different brands work together without proprietary hubs or cloud accounts. And here’s the exciting part: Home Assistant was one of the first platforms to fully support Matter.
Here’s why this matters (pun intended):
- Matter devices connect directly. No manufacturer app required. No cloud account. You add the device to Home Assistant via Matter and you’re done.
- Thread border routers work natively. Home Assistant Yellow has Thread built in, and you can add a Thread border router USB dongle to any Home Assistant setup. Thread creates a mesh network that’s faster and more reliable than WiFi for smart home devices.
- Future-proofing. As more devices adopt Matter (and they will — it’s backed by Apple, Google, Amazon, and Samsung), Home Assistant becomes the one hub that connects them all without locking you into any single ecosystem.
Matter is still evolving, and not every device supports it yet. But if you’re setting up a smart home today, building on Matter + Home Assistant is the most future-proof path you can take. For the full breakdown of what Matter means for your setup, read our guide to Matter 2.0 and the smart home standard.
When Home Assistant Is NOT the Right Choice
I’ve been pretty enthusiastic so far, so let me pump the brakes. Home Assistant is not for everyone, and pretending otherwise does you a disservice.
Skip Home Assistant if:
- You have 5 devices or fewer. If your entire smart home is a couple of smart bulbs and a thermostat, you don’t need Home Assistant. The manufacturer apps work fine for that scale. Home Assistant shines when you have devices from multiple brands that need to work together.
- You’re not comfortable with tech at all. Home Assistant Green makes setup easier, but you’ll still need to understand concepts like IP addresses, integrations, and automation logic. If “restarting your router” is the extent of your technical confidence, you might want to start with something simpler.
- You want instant gratification. Home Assistant rewards patience. The first weekend is setup. The second weekend is learning. By the third weekend, you’re building automations that blow people’s minds. If you want everything working perfectly in 20 minutes, stick with a commercial ecosystem.
- Reliability is non-negotiable for critical systems. Home Assistant is reliable, but it’s self-hosted. If your server crashes, your automations stop. For most people, this is fine — you just reboot. But if you’re automating something mission-critical (medical equipment, security systems you can’t afford downtime on), a commercial solution with professional monitoring might be wiser.
There’s no shame in deciding Home Assistant isn’t for you. The best smart home setup is the one you’ll actually use and maintain — not the one that’s technically superior but gathering dust because it was too complicated.
Try It Risk-Free Before You Commit
Here’s the best part: you don’t need to buy anything to try Home Assistant. You can install it in a virtual machine on your current computer and play around with it. If you hate it, delete the VM. No money spent, no hardware sitting in a drawer.
If you do like it — and most people who try it get hooked — then invest in dedicated hardware. A refurbished mini PC or a Raspberry Pi starter kit will run you $50-100 and give you a dedicated smart home hub that costs nothing to operate and belongs entirely to you.
No subscriptions. No cloud outages. No company deciding your devices are “legacy” and cutting off support. Just you, your home, and software that respects both.
That’s worth a weekend of tinkering.