You Can Install 80 Percent of Your Smart Home Yourself
Here’s the thing most smart home guides won’t tell you: the majority of smart home devices are designed for DIY installation. Smart plugs? Plug them in. Smart bulbs? Screw them in. Smart speakers? Put them on a counter and connect to Wi-Fi.
But there’s a line. And crossing it without knowing what you’re doing can mean fried electronics, voided warranties, or a house that’s genuinely less safe than before you started.
This guide covers what you can install yourself (with confidence), what requires a professional, and how to tell the difference. We’ll include real install times, realistic costs, and the moments where calling an electrician is the smartest money you’ll ever spend.
The Easy Stuff: DIY-Friendly Devices
These devices are designed for plug-and-play installation. No wiring, no tools beyond a screwdriver, and no risk of electrocuting yourself.
Smart Plugs (5 minutes)
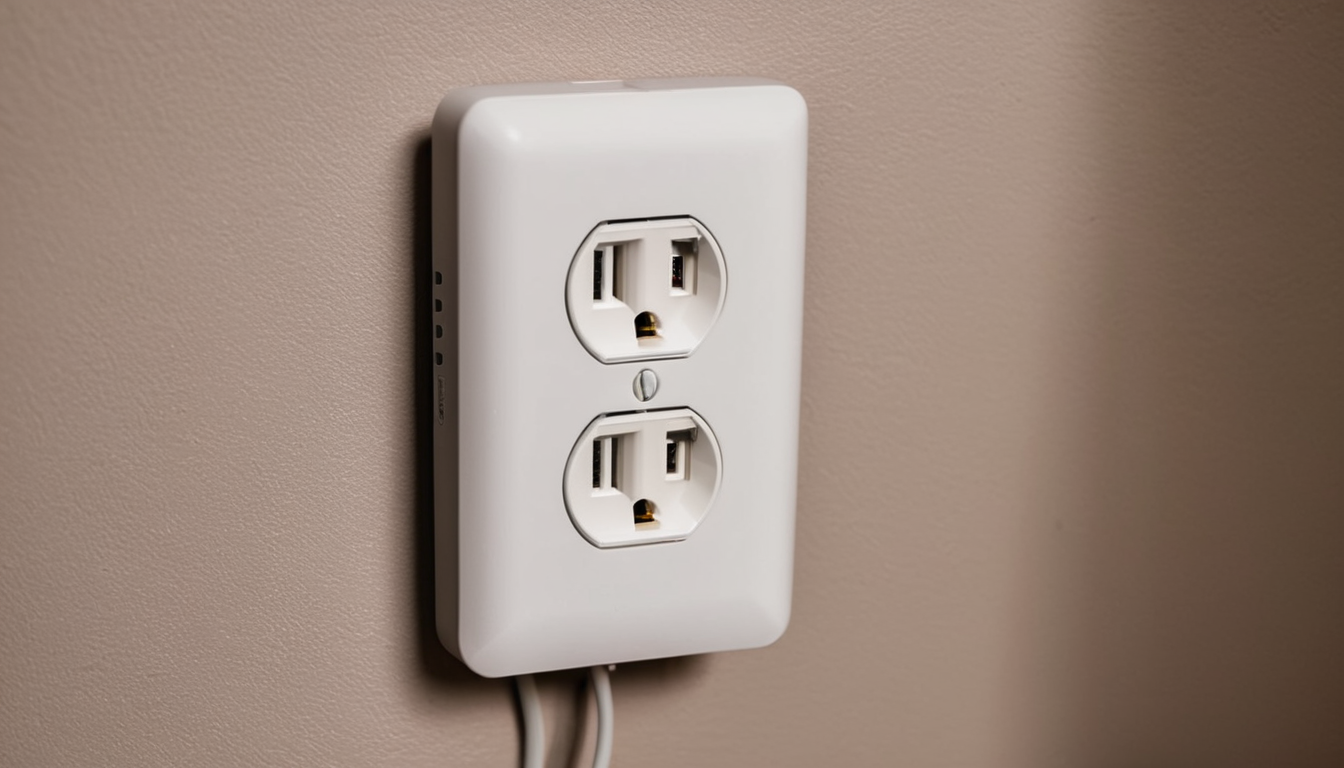
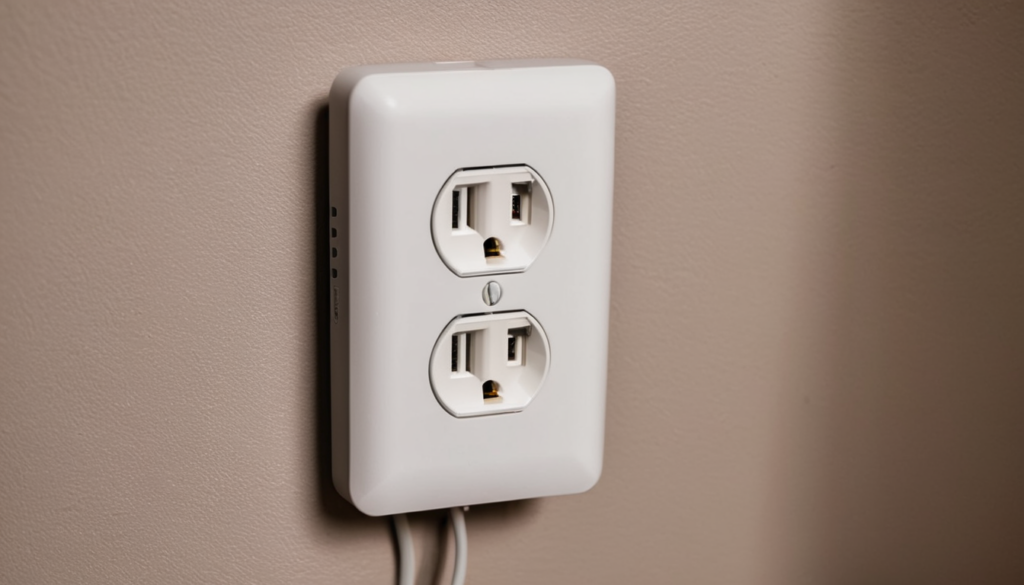
Kasa Smart Plug Mini — The definition of easy. Plug it into an outlet, download the app, connect to Wi-Fi, done. You can set up an entire room’s worth of smart plugs in under 30 minutes.
- Install time: 3-5 minutes per plug
- Tools needed: None
- Skill level: Absolute beginner
- Common mistake: Plugging too many high-wattage devices into one smart plug. Check the rating (usually 15A/1800W max).
Smart Bulbs (3 minutes)
Philips Hue White Ambiance and Wyze Bulb Color — Screw it in, turn it on, pair with the app. No hub needed for Wi-Fi bulbs (Wyze). Hue bulbs need a Hue Bridge, which is also plug-and-play.
- Install time: 2-3 minutes per bulb
- Tools needed: None (unless the old bulb is stuck)
- Skill level: Absolute beginner
- Common mistake: Using smart bulbs with dimmer switches. Smart bulbs need constant power. If you have a dimmer, either bypass it or switch to smart switches instead.
Smart Speakers and Displays (5 minutes)
Amazon Echo, Google Nest Hub — Plug in, connect to Wi-Fi, link your accounts. The only “setup” is deciding which room to put it in.
- Install time: 5 minutes
- Tools needed: None
- Skill level: Absolute beginner
- Common mistake: Putting the speaker in a corner or behind a TV. Voice assistants need clear audio. Place them at counter height, away from walls.
Wi-Fi Cameras (10 minutes)
Wyze Cam v4, Ring Indoor Cam — Mount the bracket (two screws or adhesive), click the camera in, connect to Wi-Fi. Indoor cameras are 100 percent DIY. Outdoor cameras follow the same process — just mount them higher and make sure they’re under an overhang if they’re not rated for direct rain.
- Install time: 5-10 minutes per camera
- Tools needed: Screwdriver (for mounting)
- Skill level: Beginner
- Common mistake: Pointing cameras at the sun. Check your field of view during the day and at night before finalizing placement.
Door/Window Sensors (2 minutes)
Aqara Door/Window Sensors — Peel the adhesive backing, stick one piece on the door frame and one on the door. Pair with the hub. That’s it.
- Install time: 1-2 minutes per sensor
- Tools needed: None
- Skill level: Absolute beginner
- Common mistake: Placing the magnet too far from the sensor. They need to be within about 1cm when the door is closed.
Water Leak Sensors (1 minute)
Govee Water Leak Detectors — Put them on the floor under sinks, behind toilets, near the washing machine. Connect to the app. The hardest part is crawling under the sink to place them.
- Install time: 30 seconds per sensor
- Tools needed: None
- Skill level: Absolute beginner
- Common mistake: Putting them on elevated surfaces. They detect water that reaches the metal contacts on the bottom. Place them flat on the floor.
The Middle Ground: DIY-able With Caution
These devices involve some wiring but are designed for homeowner installation. If you’re comfortable following instructions and can identify a neutral wire, you can handle these. If terms like “line wire” and “load wire” sound like a foreign language, call a pro.
Smart Thermostats (20-45 minutes)
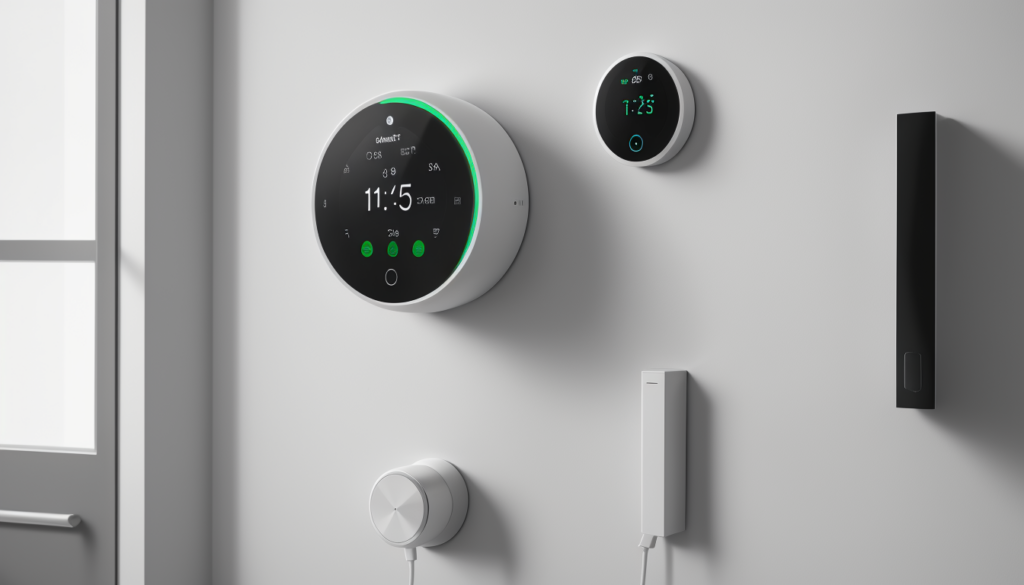
Ecobee Smart Thermostat Premium, Google Nest Learning Thermostat (4th Gen) — Replacing a thermostat involves removing the old one, labeling the wires (this is critical), connecting them to the new base plate, and snapping on the display.
The C-wire is the big variable. Most smart thermostats need a common wire for power. If your current thermostat has one, great. If it doesn’t:
- Option A: Use the included C-wire adapter (ecobee includes one, called a Power Extender Kit). This takes another 10 minutes and involves opening your furnace panel.
- Option B: Use the Wyze Thermostat, which can work without a C-wire by power-stealing.
- Option C: Hire an electrician to run a C-wire (100-200 dollars).
- Install time: 20-45 minutes (longer if you need to install a C-wire adapter)
- Tools needed: Screwdriver, wire labels (included), possibly a drill
- Skill level: Intermediate — you’re dealing with low-voltage wiring
- When to call a pro: You have a heat pump, dual-fuel system, or more than 5 wires on your current thermostat. These setups have wiring configurations that can go wrong.
Smart Light Switches (15-30 minutes per switch)
Lutron Caseta, Kasa Smart Dimmer — This is where many DIYers get nervous, and rightfully so. You’re replacing a switch that controls 120V power. Turn off the breaker first (verify with a voltage tester), label your wires, and follow the instructions carefully.
- Install time: 15-30 minutes per switch
- Tools needed: Screwdriver, wire nuts, voltage tester, possibly wire strippers
- Skill level: Intermediate to advanced
- When to call a pro: You don’t have a neutral wire (required by most smart switches), your switch box is packed with wires, or you find wiring that doesn’t match the instructions. Lutron Caseta is the best option for homes without neutral wires — it works with most existing wiring.
Smart Locks (15-30 minutes)
August Wi-Fi Smart Lock — Most smart locks replace just the interior portion of your deadbolt. You remove the interior thumb turn, attach the smart lock mounting plate, and slide on the motor unit. The exterior keyhole stays the same.
- Install time: 15-30 minutes
- Tools needed: Screwdriver (usually Phillips)
- Skill level: Intermediate
- When to call a pro: Your door doesn’t have a standard deadbolt prep (1-inch bore), the deadbolt is severely misaligned, or you want a full mortise lock replacement. August and Yale make retrofit locks that work with your existing deadbolt — these are the easiest to install.
Smart Doorbells (15-30 minutes)
Ring Video Doorbell, Google Nest Doorbell — If you have existing doorbell wiring, installation is straightforward: remove the old button, connect two wires, mount the new doorbell. If you don’t have existing wiring, battery-powered doorbells only need mounting (no wires at all).
- Install time: 15-30 minutes (wired) or 5-10 minutes (battery)
- Tools needed: Screwdriver, drill (for mounting), voltage tester (if wired)
- Skill level: Intermediate (wired), Beginner (battery)
- When to call a pro: Your existing doorbell transformer is too old or low-voltage (needs 16-24V for most smart doorbells). This requires opening your electrical panel — not a DIY job for most people.
Call a Professional: Don’t DIY These
These installations involve high-voltage wiring, structural modifications, or systems where mistakes can be dangerous or expensive.
Hardwired Security Systems (2-4 hours)
Running wires through walls for multiple camera feeds, keypads, and sensors requires fishing cables through drywall, attic access, and sometimes drilling through exterior walls. Professional installers do this every day and have the tools to make clean, hidden wire runs.
- Professional install cost: 200-500 dollars (often included with system purchase)
- Why not DIY: Wire runs through walls, attic access needed, exterior wall penetrations must be sealed properly
240V Appliance Smart Outlets (30-60 minutes)
Smart outlets for your dryer, EV charger, or water heater involve 240V wiring. This is genuinely dangerous — a mistake can start a fire or electrocute you. Hire a licensed electrician.
- Professional install cost: 150-300 dollars
- Why not DIY: 240V wiring requires dual breakers, proper wire gauge, and code-compliant installation. Mistakes can be lethal.
Smart Panel/Energy Monitor (1-2 hours)
Devices like Sense Energy Monitor install inside your electrical panel with current transformers that clamp around your main service wires. This requires opening the panel cover, which exposes you to live service lugs carrying 200+ amps.
- Professional install cost: 100-250 dollars (many electricians will do it for the cost of a service call)
- Why not DIY: Working inside an electrical panel with live service wires is dangerous even for experienced DIYers. One touch of the wrong lug and you’re dead. Hire a licensed electrician.
Whole-Home Smart Lighting (4-8 hours)
If you’re installing more than 5-6 smart switches throughout your home, the time investment adds up. Each switch takes 15-30 minutes, but you may also discover wiring issues (no neutral wire, 3-way switch configurations, multi-gang boxes) that triple the time per switch.
- Professional install cost: 75-150 dollars per switch (varies by region)
- Why not DIY for large installs: Multiple 3-way switch configurations, neutral wire running, and code compliance make this a full-day project for a homeowner. An electrician can knock it out in half a day.
Smart Garage Door Opener (30-60 minutes)
Replacing a garage door opener involves heavy lifting (the motor assembly weighs 30+ pounds), overhead mounting, and safety sensor alignment. The sensors need to be perfectly aligned or the door won’t close properly — a safety hazard.
- Professional install cost: 150-300 dollars (often waived if you buy through the installer)
- Why not DIY: Heavy overhead work, tension spring danger (never touch the torsion spring), and safety sensor alignment. The smart retrofit controllers (like myQ) that add Wi-Fi to your existing opener are DIY-friendly, though.
The Decision Matrix: DIY or Call a Pro?
- Do you feel confident working with low-voltage wiring? If yes, thermostats and doorbells are within reach. If no, stick to plug-and-play devices.
- Do you have a voltage tester and know how to use it? If no, don’t install anything that involves removing faceplates from electrical boxes.
- Is your home older than 1980? Older homes often have aluminum wiring, missing grounds, and other surprises behind switch plates. Hire an electrician.
- Are you comfortable on a ladder? Outdoor cameras and doorbells require ladder work. If that’s not your thing, professional installation is worth the money.
- Do you have a C-wire at your thermostat? Check before buying a smart thermostat. No C-wire means either buying a compatible model, installing an adapter, or calling an electrician.
Real Cost Comparison: DIY vs Professional
- Smart thermostat: DIY (free, 30 min) vs Professional (100-200 dollars install fee). DIY is the clear winner here — the wiring is low-voltage and well-documented.
- Smart switches (5 rooms): DIY (free, 2-3 hours) vs Professional (375-750 dollars). DIY if you’re comfortable with wiring. The 5th switch takes half the time of the first one.
- Smart lock: DIY (free, 20 min) vs Professional (75-150 dollars). This is one of the easiest installs. August locks are specifically designed for DIY.
- Energy monitor: DIY (free, but dangerous) vs Professional (100-250 dollars). Always hire a pro for this.
- Whole-home security (4 cameras + keypad): DIY (free, 4-6 hours) vs Professional (200-500 dollars, often bundled). DIY is doable but time-consuming. The pro install is worth it if you value your time.
- Smart doorbell: DIY (free, 20 min) vs Professional (75-150 dollars). Easy DIY if you have existing wiring. Battery models are even simpler.
Tools Every Smart Home DIYer Needs
Before you start installing anything, make sure you have these basics:
- Non-contact voltage tester (15 dollars) — Touch it to a wire before you touch the wire. Non-negotiable for any electrical work.
- Multimeter (20-30 dollars) — For identifying wire functions and testing voltage. Essential for thermostat and switch installs.
- Phillips and flathead screwdrivers — Most smart devices use standard screws.
- Wire nuts and electrical tape — For making connections in switch boxes.
- Drill with masonry and wood bits — For mounting cameras, doorbells, and sensors.
- Ladder — For outdoor camera and doorbell installs.
- Wire labels (or masking tape and a marker) — Label every wire before you disconnect it from your old thermostat or switch.
The Most Common DIY Mistakes (And How to Avoid Them)
- Not turning off the breaker. Always turn off the breaker, then verify with a voltage tester. Even if the light switch is off, the wires behind it may still be live.
- Not labeling wires. When you remove your old thermostat, label every wire with the letter from the old terminal (R, W, Y, G, C). If you forget, you’ll spend an hour tracing wires instead of 5 minutes installing.
- Forgetting the C-wire. Many older homes don’t have a C-wire at the thermostat. Check before you buy, and if you don’t have one, either buy a thermostat that doesn’t require it (Wyze) or install the included adapter (ecobee).
- Overtightening wire nuts. Hand-tight plus a quarter turn. Overtightened wire nuts can damage the wires inside.
- Not testing after installation. Test every device before you close up the wall plate. A loose wire is easy to fix when the plate is off. Once it’s on, you’re opening everything up again.
- Ignoring local building codes. Most smart home DIY work doesn’t require permits, but if you’re adding circuits or modifying your electrical panel, you may need one. Check your local requirements.
When DIY Goes Wrong: The “Just Call Someone” Moments
- You open a switch box and find knob-and-tube wiring. This is old, ungrounded wiring common in pre-1940s homes. Stop, close the box, and call an electrician.
- The breaker trips immediately after you turn it back on. You have a short circuit. Don’t try again. Find the problem or call a pro.
- You smell burning plastic after installing a smart switch. Turn off the breaker immediately. You may have a loose connection causing arcing. This is a fire hazard.
- You find aluminum wiring. Common in 1960s-1970s homes. Aluminum wiring requires special connectors (CO/ALR rated) for copper-to-aluminum connections. This is not a DIY project.
- Three-way switch configurations you can’t figure out. 3-way switches (controlled from two locations) are confusing even for experienced DIYers. If the wiring doesn’t match the smart switch instructions, call an electrician.
The Bottom Line
Most smart home devices are designed for DIY installation because manufacturers know that professional install costs kill adoption. Smart plugs, bulbs, speakers, sensors, and cameras are all within reach of anyone who can follow instructions.
Smart switches and thermostats are DIY-able if you’re comfortable with low-voltage wiring. Everything in your electrical panel — energy monitors, 240V outlets, circuit modifications — should be handled by a licensed electrician.
If you’re just getting started, our guide to common beginner mistakes will help you avoid the pitfalls that trip up most first-time smart home builders. And if you’re deciding between devices, our best smart plugs guide and smart light switch guide have specific recommendations for every budget and skill level.
CleverHomeClub is supported by readers. When you buy through links on our site, we may earn an affiliate commission at no extra cost to you. We only recommend products we’ve researched thoroughly.